


Frequently Asked Questions
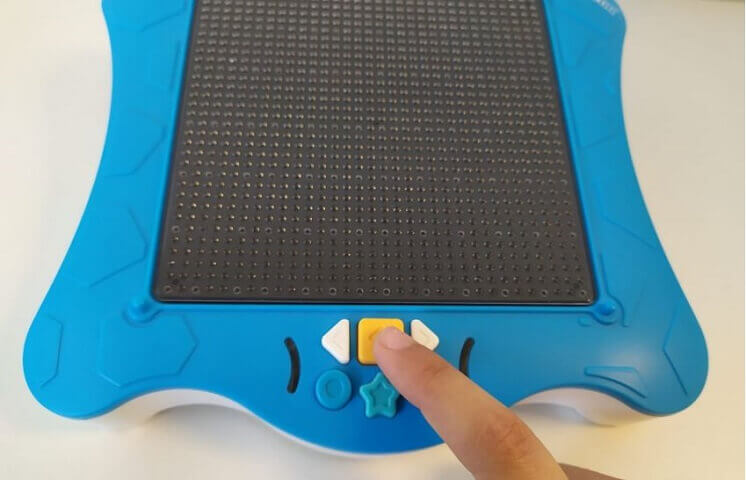
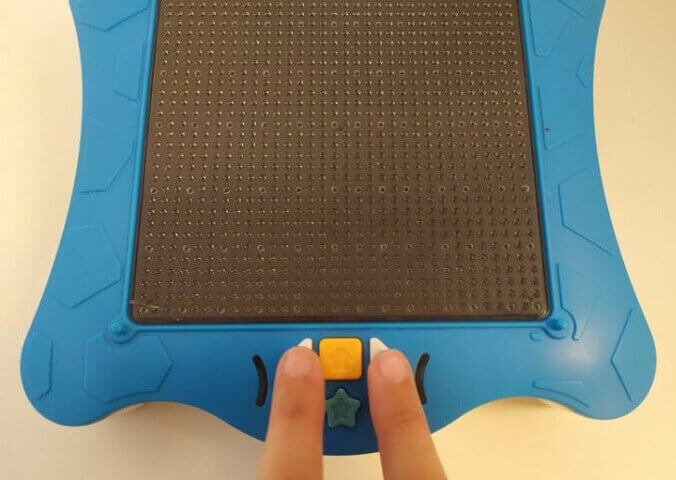
1. Press the Yellow Square button to go to Home Screen – this will display the first step of the first activity on the SD card.
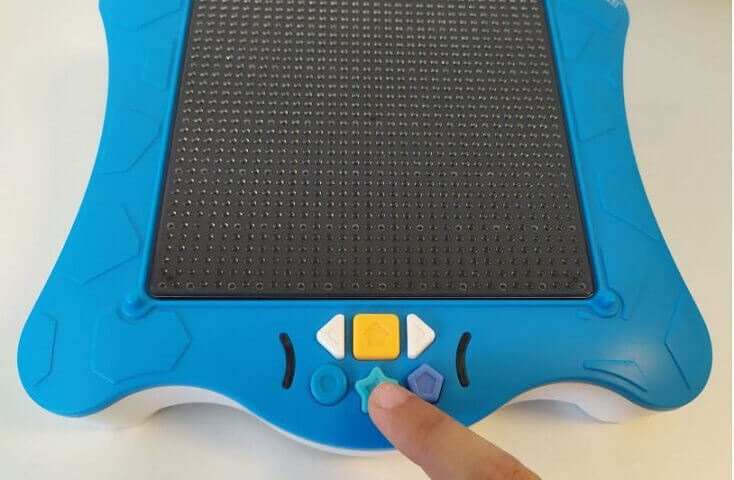
2. Press the Purple Pentagon button to go to the next Activity or press the Blue Circle button to go to the Previous Activity.
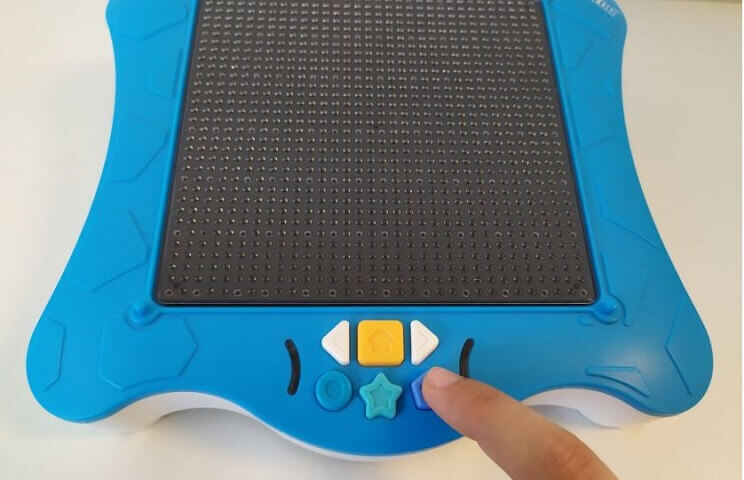
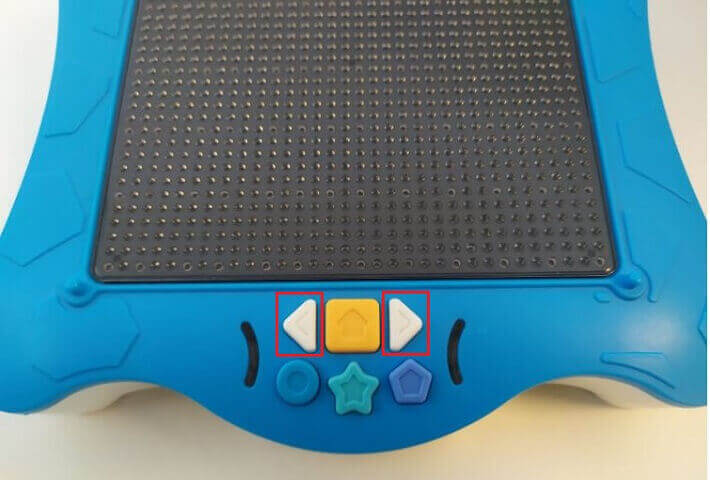
3. Once you selected your activity, press the White Arrows buttons to go a step Forward or a step Backward.

4. Press the Star button to repeat the last step.
What you will need:
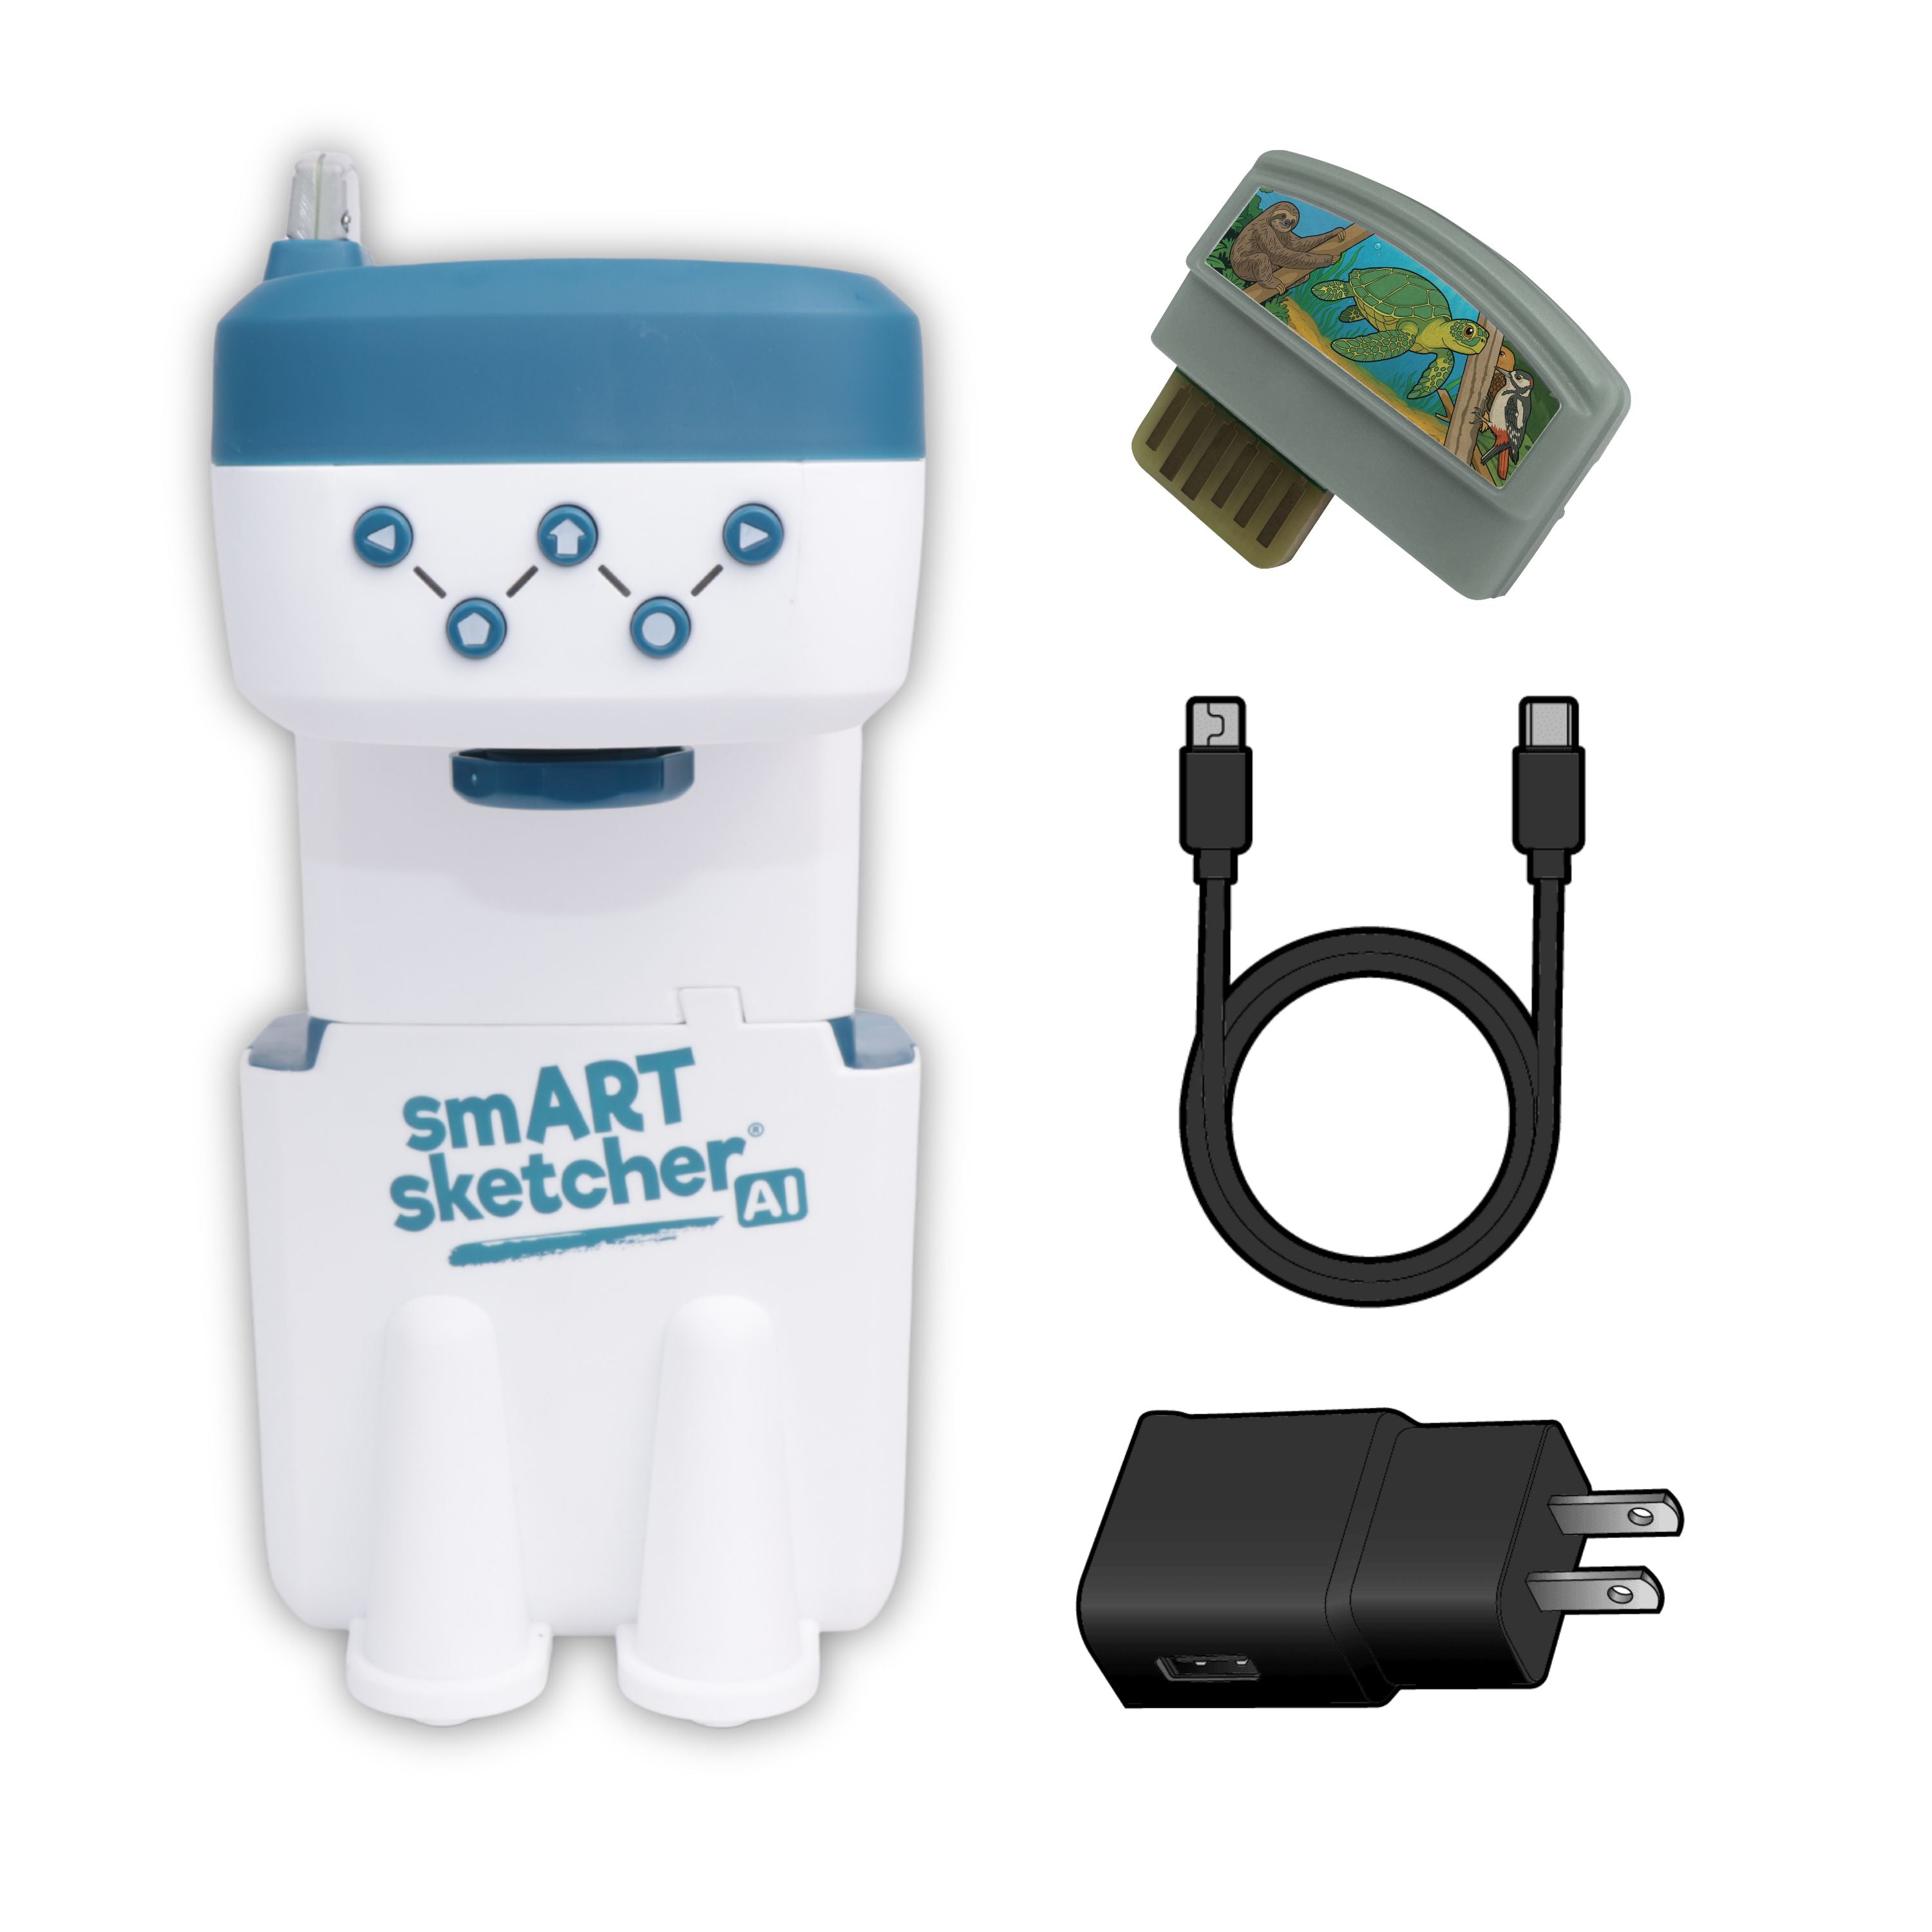
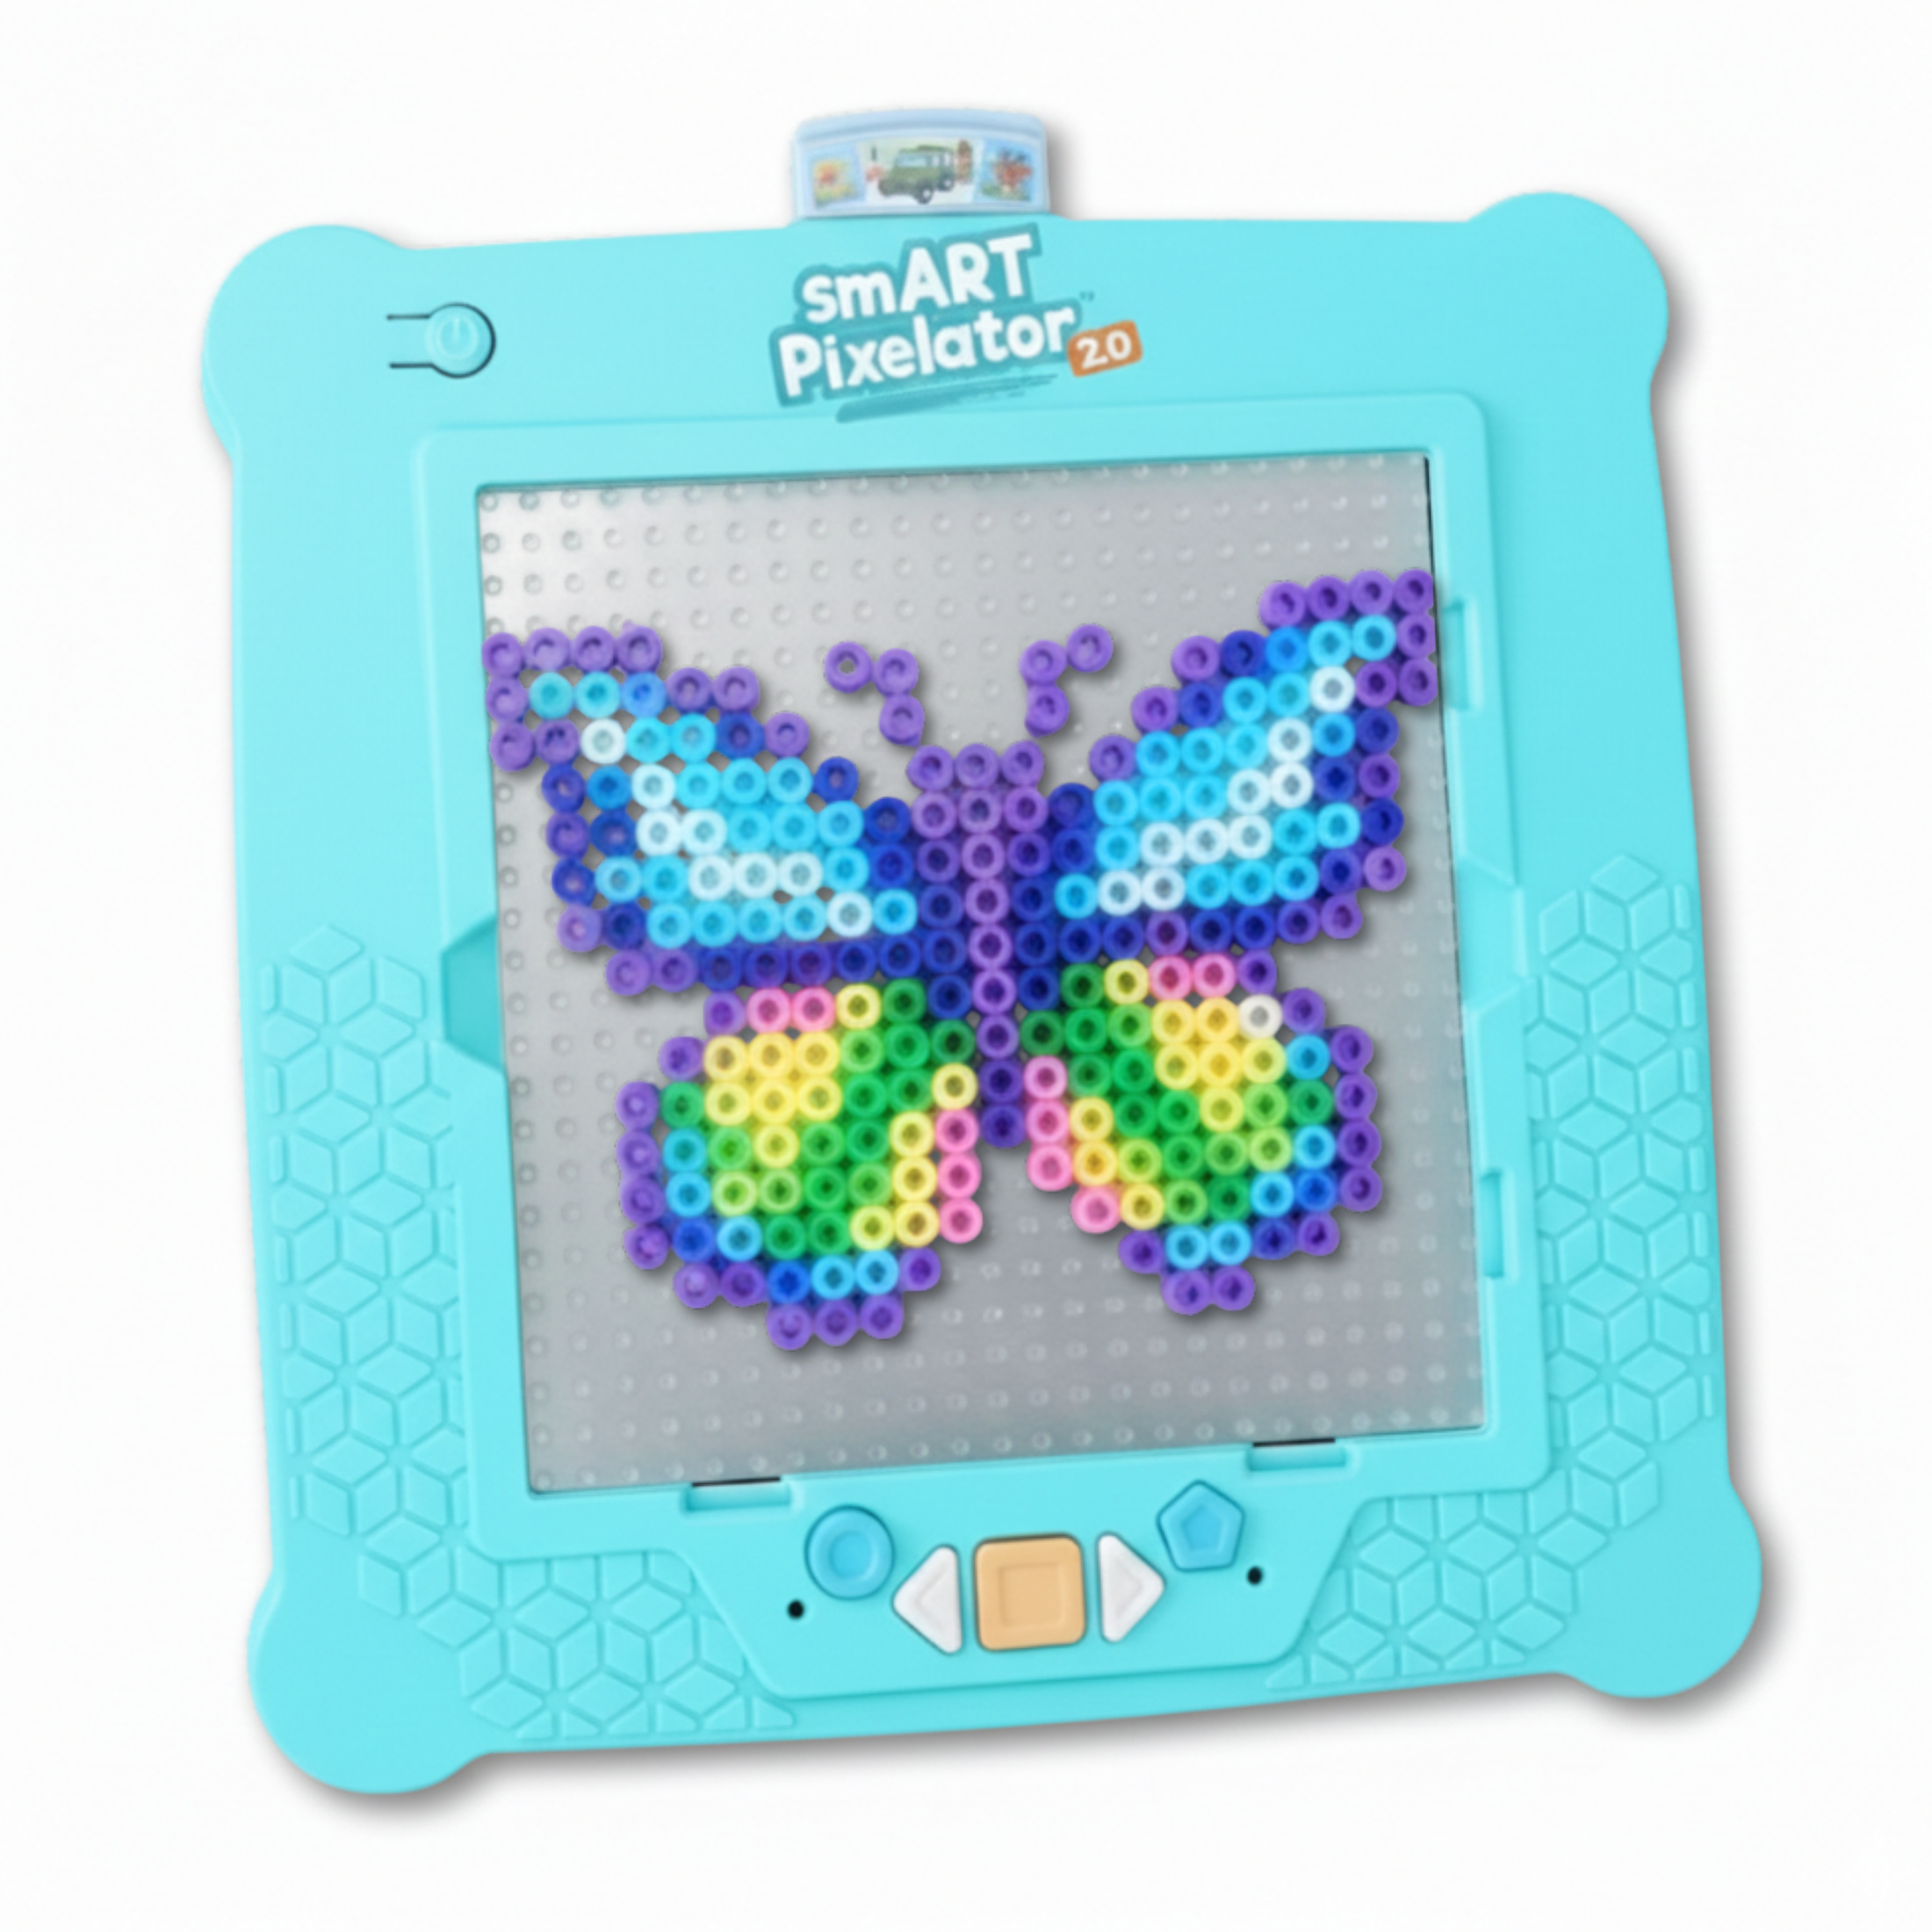
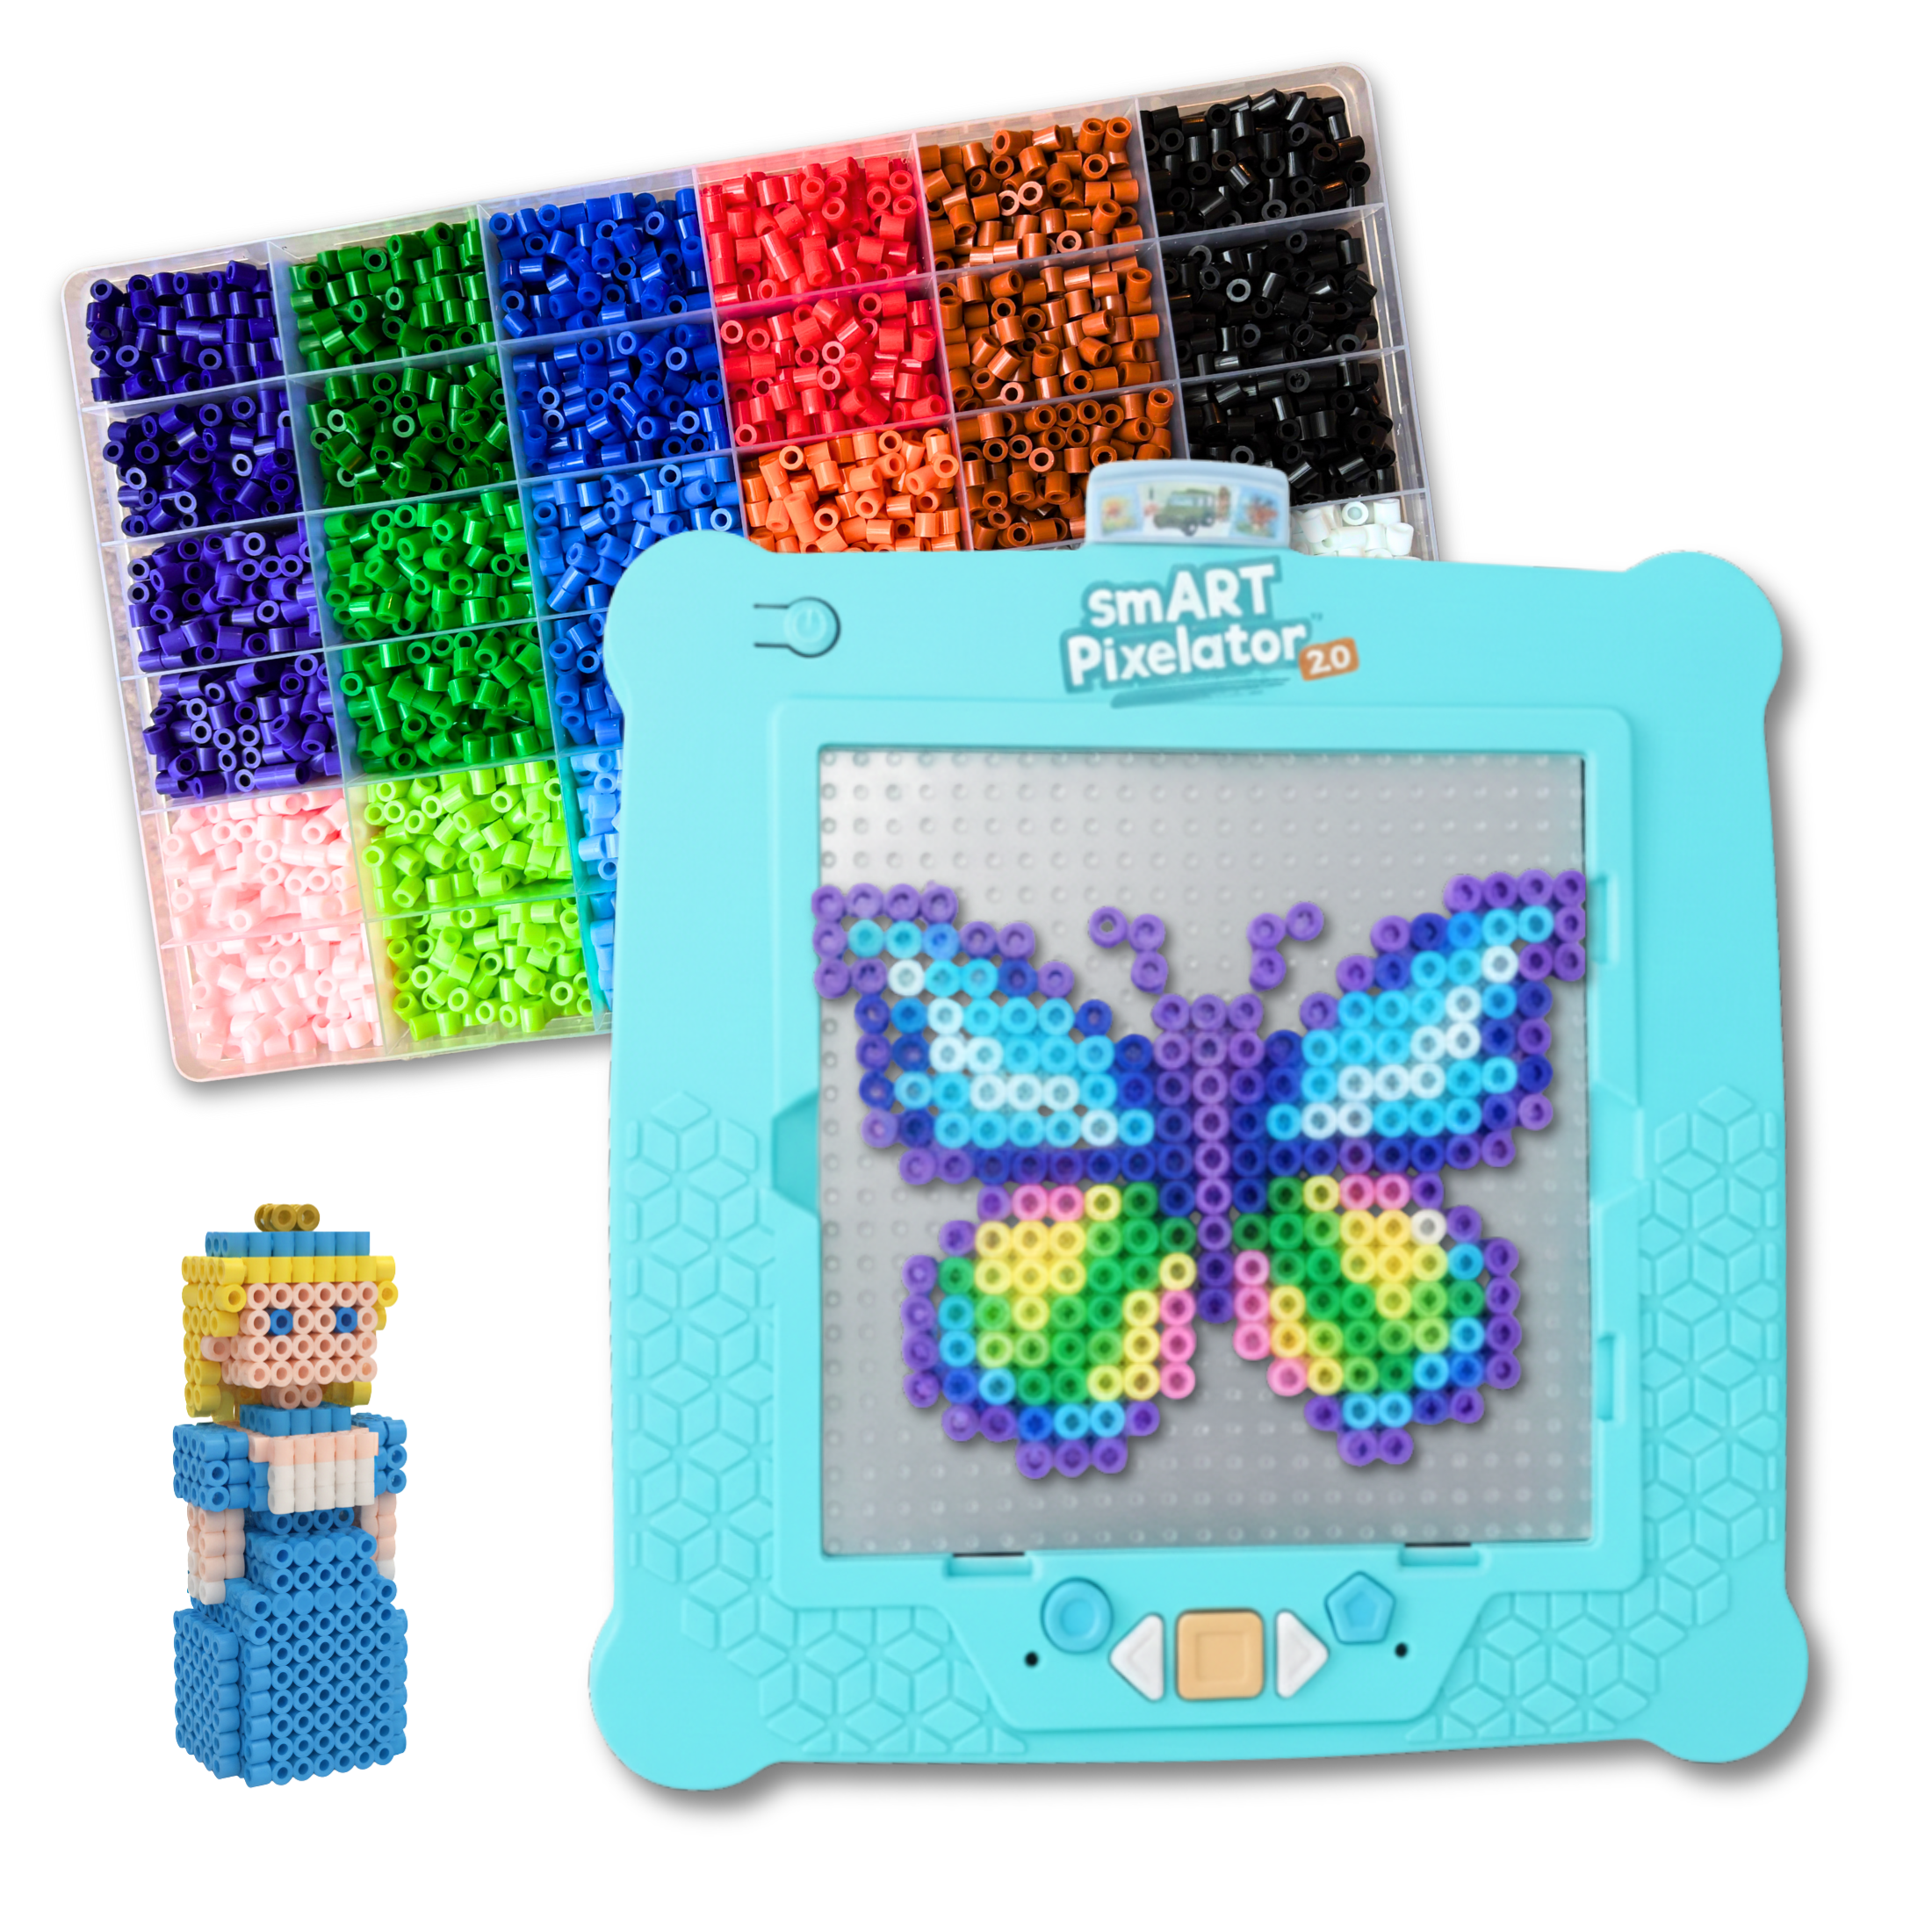
- smART Pixelator™.
- A smart device running either iOS 9.0+ or Android 5.1+.
- The smART Pixelator™ App (iOS or Android).
1. Turn on your smART Pixelator™.
2. Download the smART Pixelator™ App from the relevant App store.
3. Turn on Bluetooth on your device. Note: There is no need to pair and/or connect your device to the smART Pixelator™ from your device Bluetooth settings menu; The App will automatically locate the smART Pixelator™.
4. Open the smART Pixelator™ App on your device.
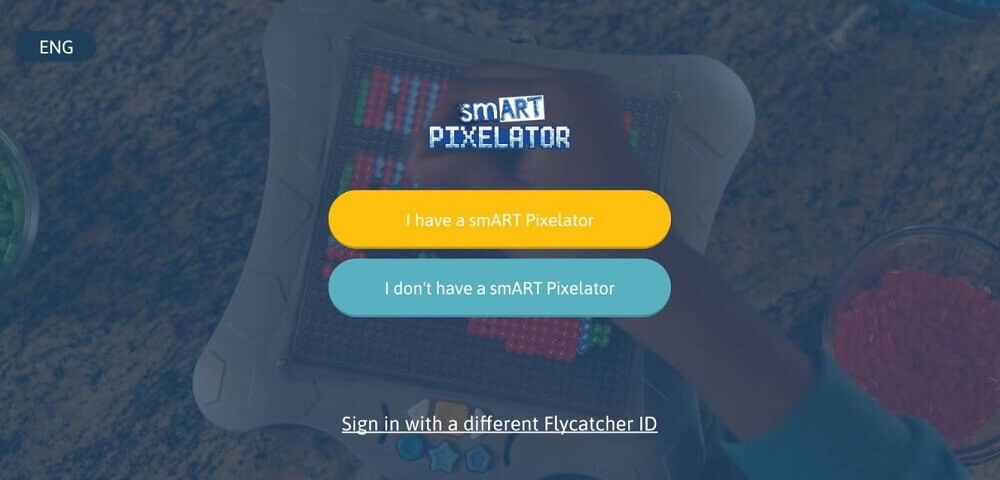
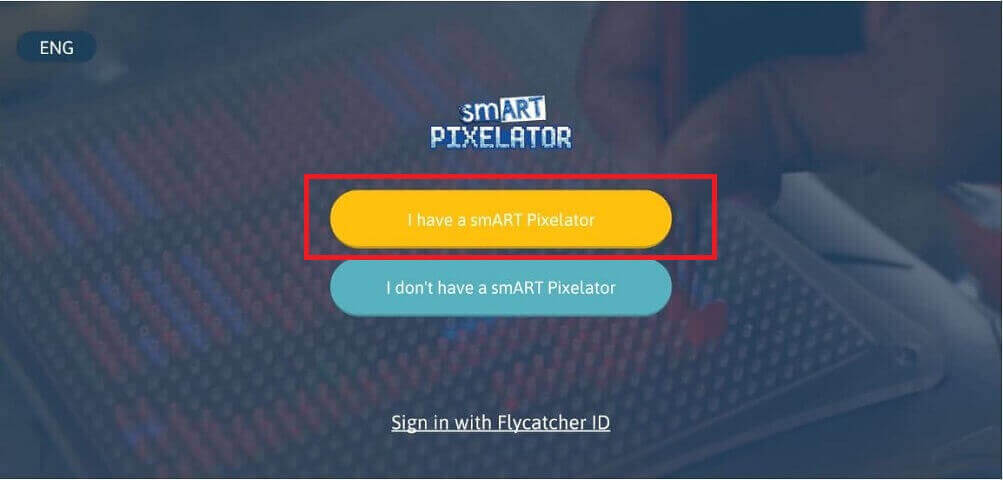
5. Click the “I have a smART Pixelator” button in the welcome screen and navigate to the Bluetooth connection screen (you might need to provide permission to enable Bluetooth connection). On Android, you will need to enable Location services and provide permission for Location services; this is required in order to allow the App to connect to the smART Pixelator™. You can see more details in the following Link.
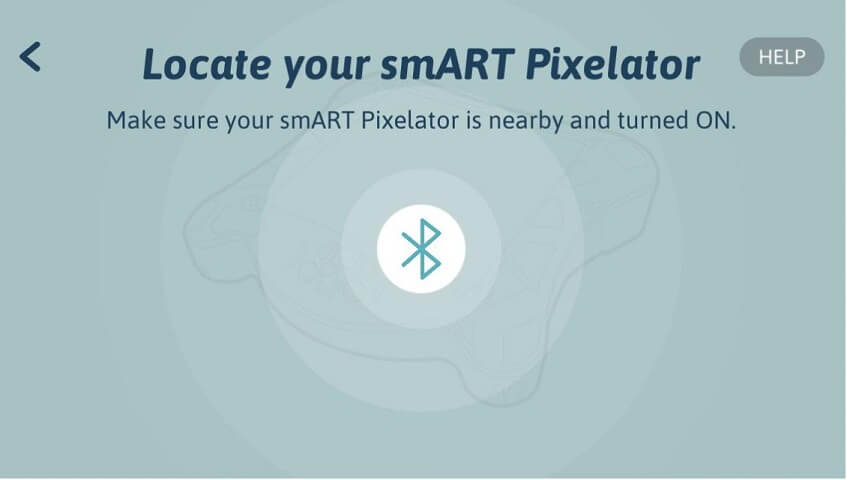
6. The App will search for a nearby smART Pixelator™. If a smART Pixelator™ is found, it will automatically connect to it.

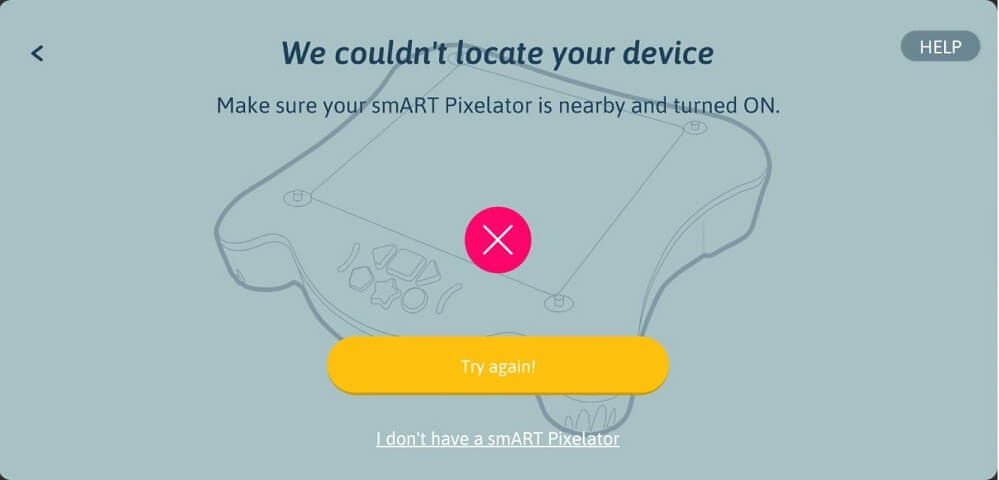
If no smART Pixelator™ is found, you will see the below screen. You can click the “Try Again” button to re-try the connection.
7. If multiple smART Pixelator’s™ are nearby, the App will display a list of the detected smART Pixelators™. Select the smART Pixelator™ you want to connect to from the list and then click the Select button.
8. Success! The App is now connected to the smART Pixelator™ via Bluetooth.
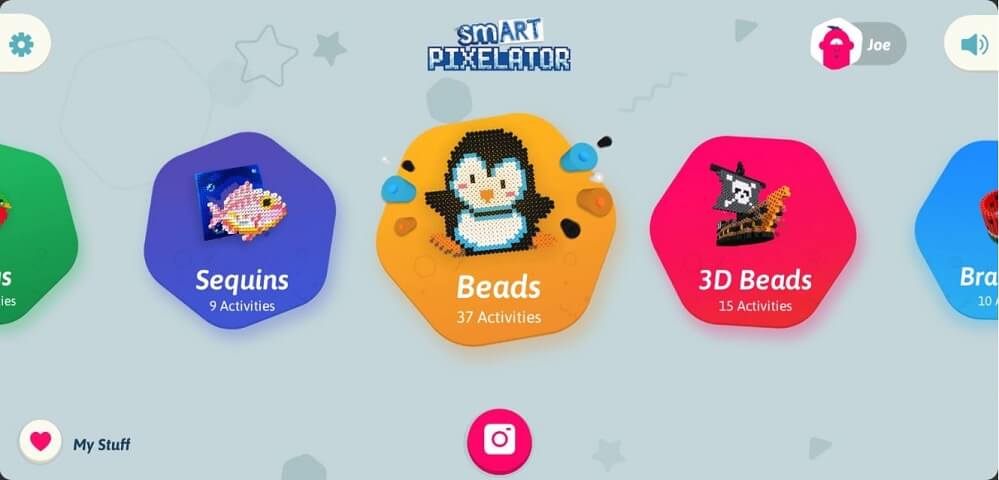
If an SD Card is inserted into the smART Pixelator™ and the smART Pixelator™ successfully detected the SD card, you will see the Activities that are located on the SD card. You are now ready to create projects from the content inside the SD card or take a picture.
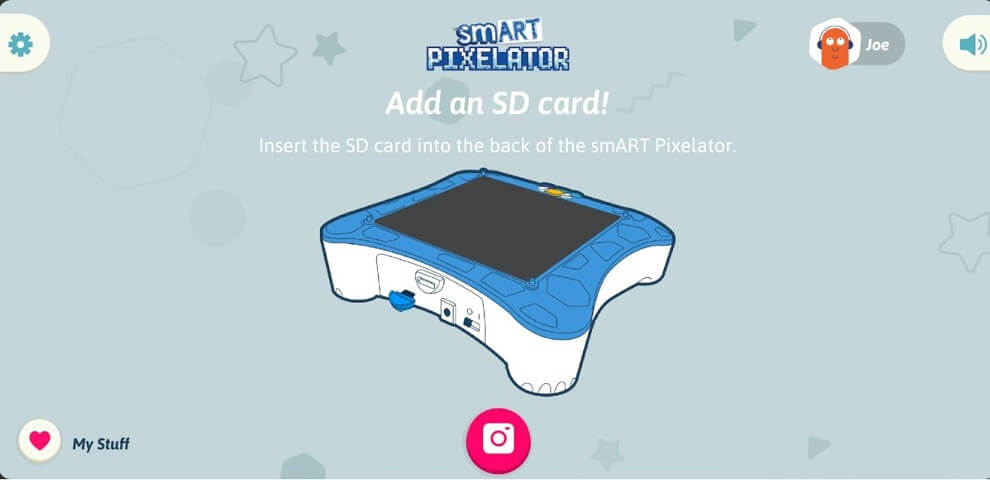
If no SD card is detected by the smART Pixelator™ you will see the Add an SD card! screen. This doesn’t mean that the App is not connected to the smART Pixelator™ via Bluetooth, it just means that no SD card is detected. You can still take a picture and create art from it (click the Camera button and follow the instructions).
If your app still fails to connect to the smART Pixelator™, follow the troubleshooting steps in this Link.
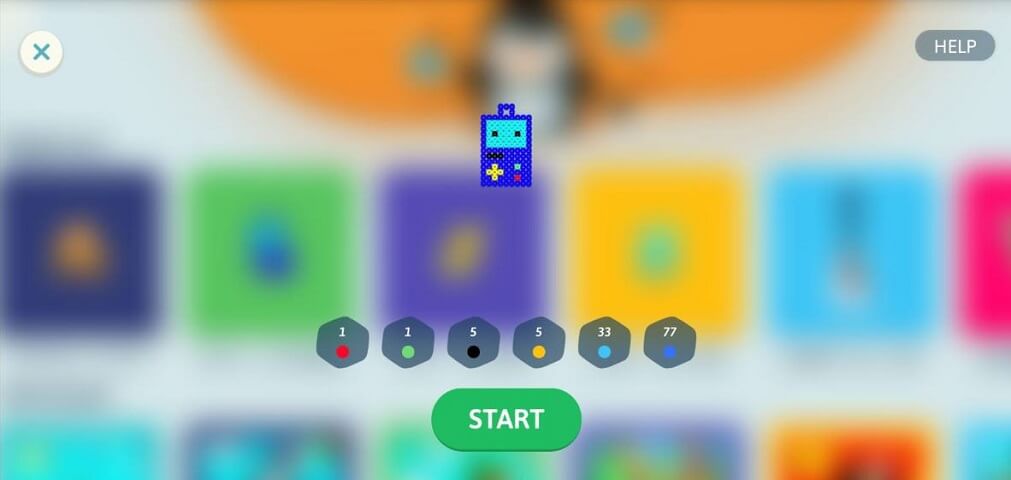
When creating a project from the SD card, a color breakdown screen will appear at the beginning of each activity showing you exactly how many parts are needed, per color.
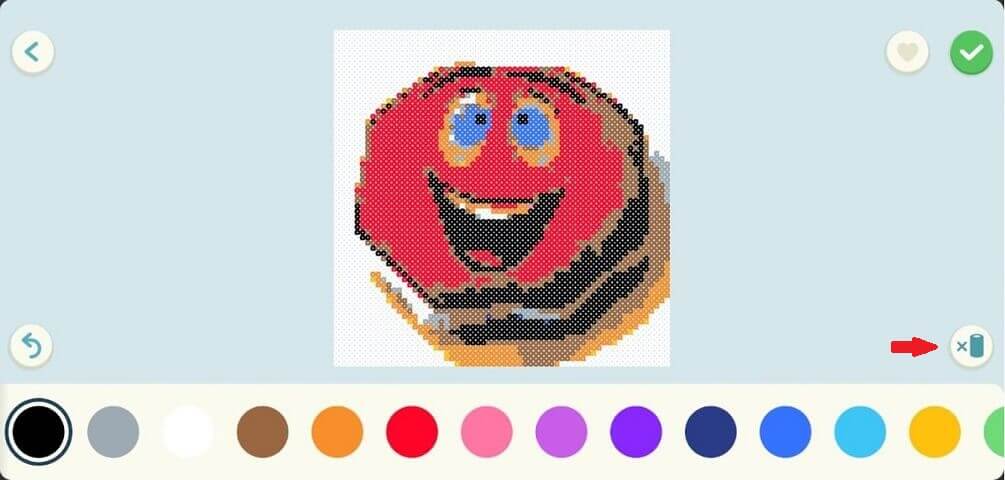
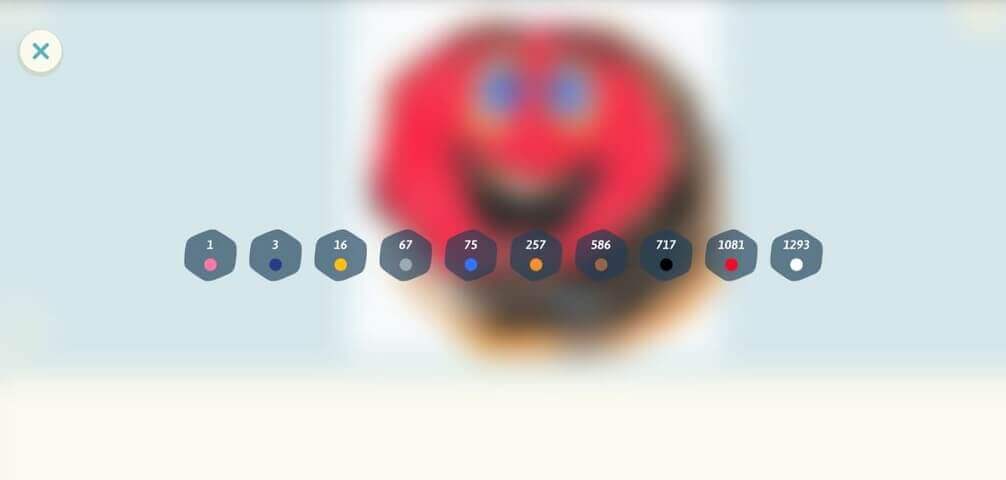
When creating a project from a picture that is taken from the photo library or camera, the breakdown screen will open after clicking on the colors breakdown button located at the bottom right side of the screen.
The colors quantity will update with every edit you make to the picture.
With smART Pixelator™, you can create 2D artwork from anything you can see. Just take a picture and begin!
1. Make sure your smART Pixelator™ is connected to the App using Bluetooth.
2. On the main screen, click the Camera icon to launch the camera preview screen.

3. You will first need to grant OS permissions to Camera Access. Click “Allow” on the OS message and continue to Camera screen. Notice that this is required only once.

If you denied the App access to your Camera and selected “Don’t ask again”, you will need to manually enable Camera access permission for the smART Pixelator™ app.
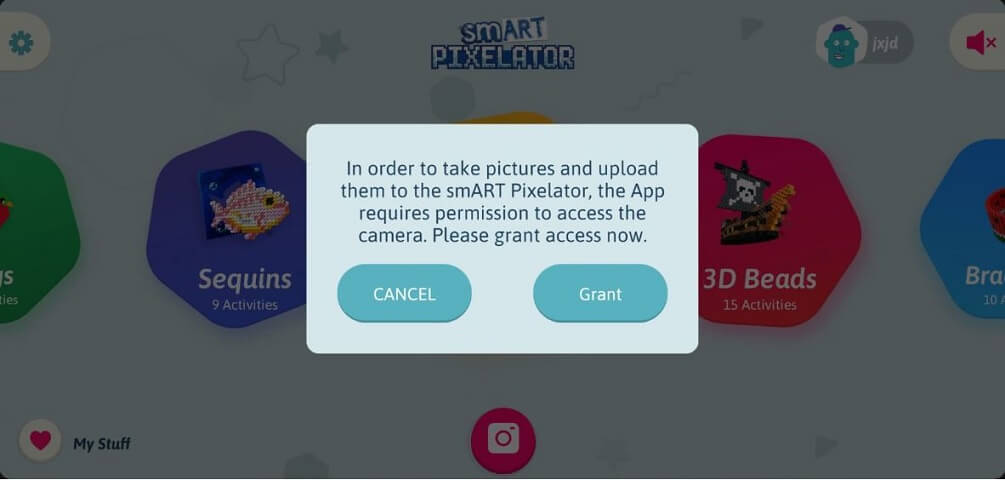
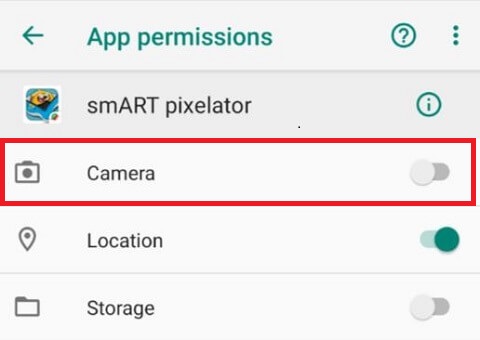
- Clicking on the Camera Icon will prompt the below dialog. Click the Grant button to open the Android settings properties for the smART Pixelator™ App.
- In the opened settings properties screen for the smART Pixelator™ App, locate the App Permission settings and click it (the actual screen might look a little bit different depending on your device vendor and model). Click on the Camera toggle to allow the smART Pixelator™ App access to your Camera. Afterwards, click the back button twice to return back to the App.
4. In the Camera Preview screen, choose an Artwork – Square (1 tray), Vertical (2 trays), Horizontal (2 trays), Extra-Large (4 trays).
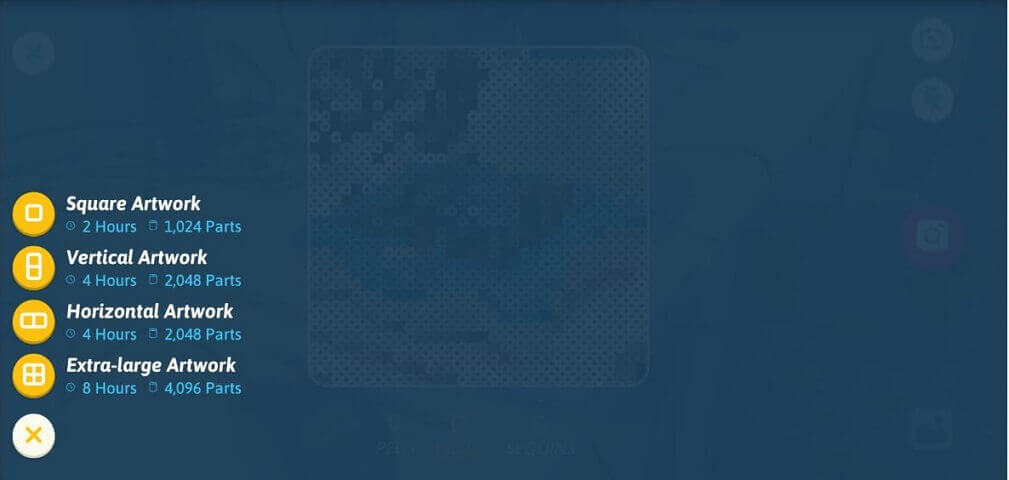
If you select the Square Artwork, you will be able to choose the play pattern type to use (i.e. Beads, Sequins or Pegs). For all other Artwork sizes, only the Beads play pattern is supported.
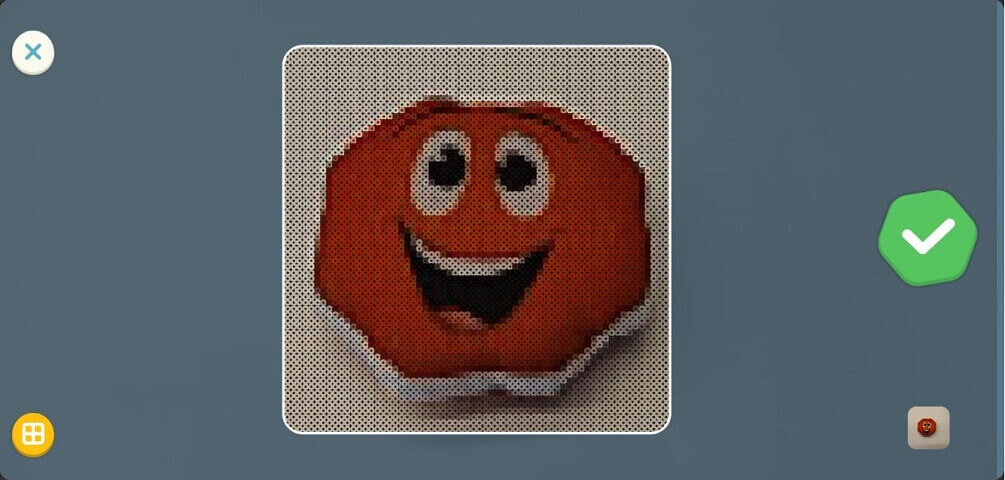
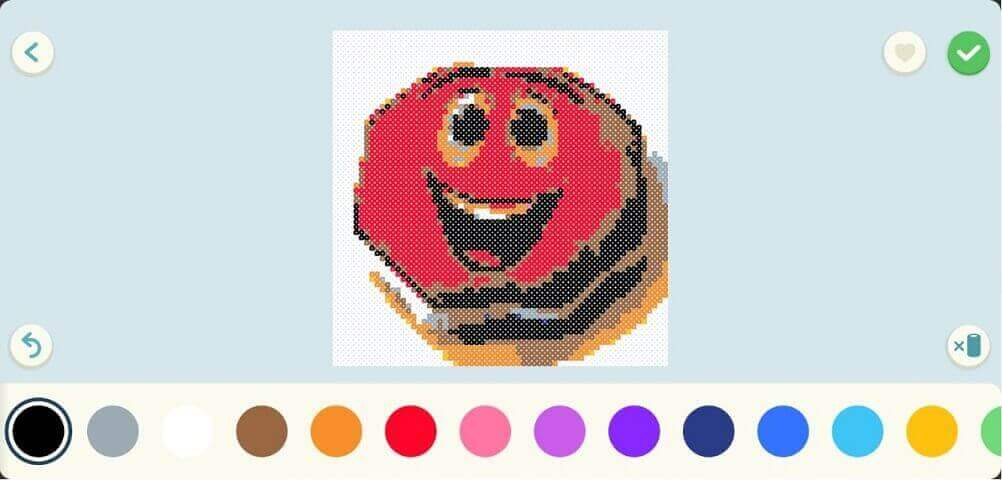
5. Take a picture using your in-app camera. It will appear on your screen. Adjust the frame and click the checkmark to approve the picture. For best results, we recommend taking a picture in a well lighted environment, preferably using a white background for the picture object.
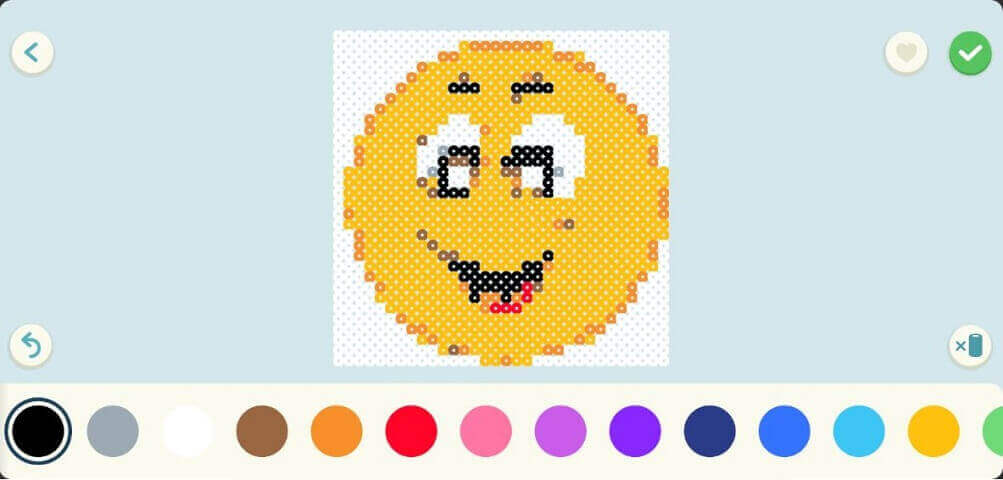
6. Edit the picture using our smART color editor.
7. After editing is done, Press the checkmark to transfer the image to the smART Pixelator™.
8. Build your 2d Artwork!
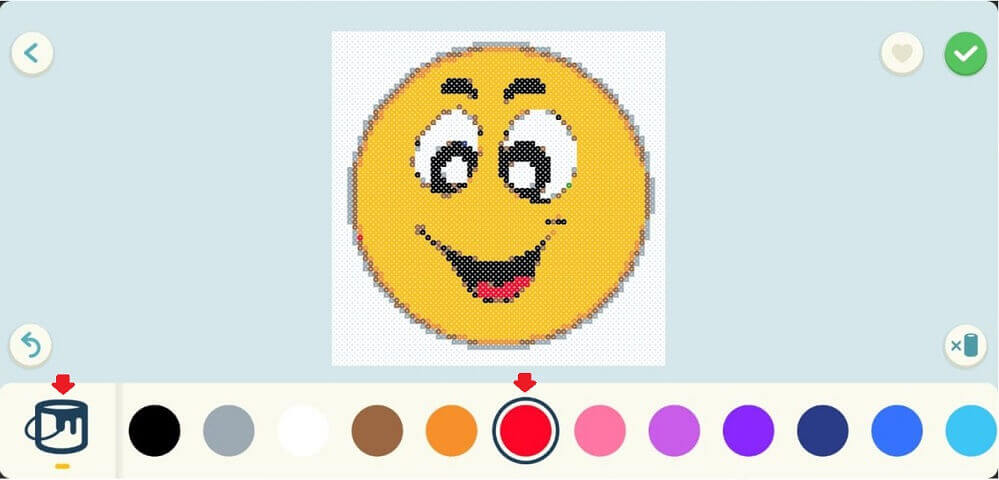
If you wish, you can edit pictures using the color bar at the bottom of the screen. You can use this feature for cosmetic adjustments or if you want to use the colored play patterns you already have at home.
- Choose coloring mode: single pixel or color fill:
Single pixel mode (selected by default):
By clicking on the pixels of the picture you can replace the original color with any one you choose. Make sure “Color fill” button (shaped like a paint bucket) is disabled and choose a color you wish to add from the bottom bar.
“Color Fill” mode:
This mode allows you to replace the color of the clicked pixel and all adjacent same colored pixels with the chosen color. Make sure“Color fill” button is enabled and choose a color you wish to fill from the bottom bar.
- For easy editing, You can Pinch 2 fingers together or apart to adjust the zoom.
- After editing is done, Press the checkmark to transfer the image to the smART Pixelator™.
With smART Pixelator™, you can turn any picture you’ve saved on your smart device to a 2d Artwork!
You will first need to enable Photo Library Access and Camera access from the App Settings and optionally grant OS permission, depending on your mobile device OS platform and version. Notice that this is required only once.
Notice that by enabling Photo Library Access, every picture taken by the app will be automatically saved in your device Gallery.
1. Enable access to your photo library by going to “Settings” at the top of your screen.
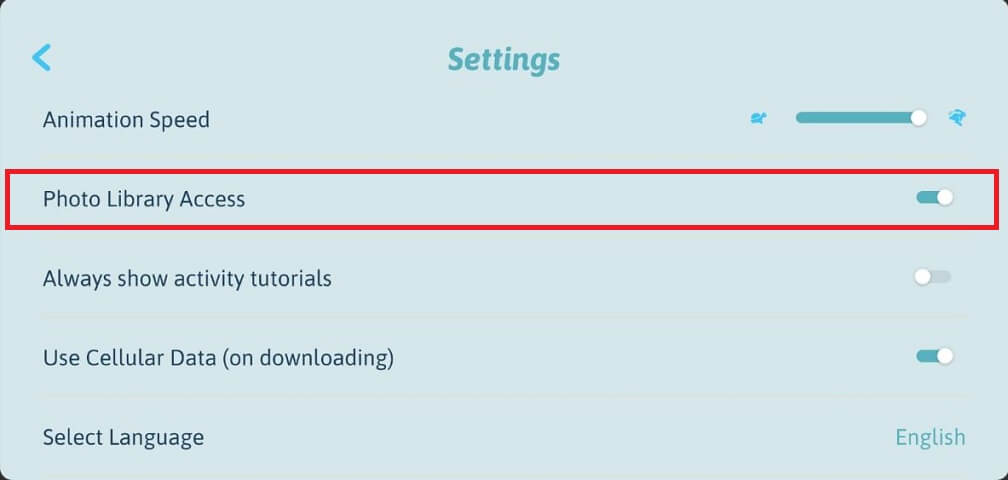
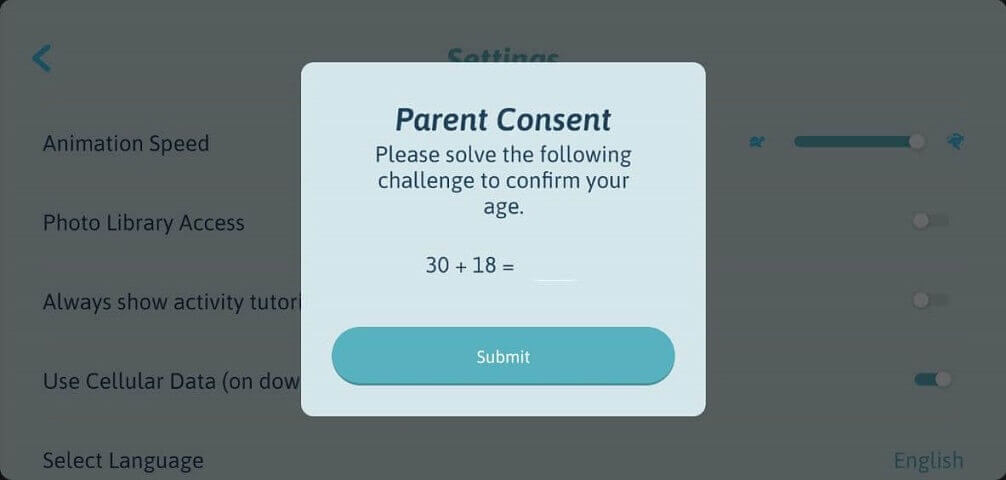
An adult may need to help with this step to verify parent consent.
2. Go back to the main screen, click the Camera icon. If you Camera Permissions were not yet granted, you need to allow Camera access (see instructions on how to allow Camera access).

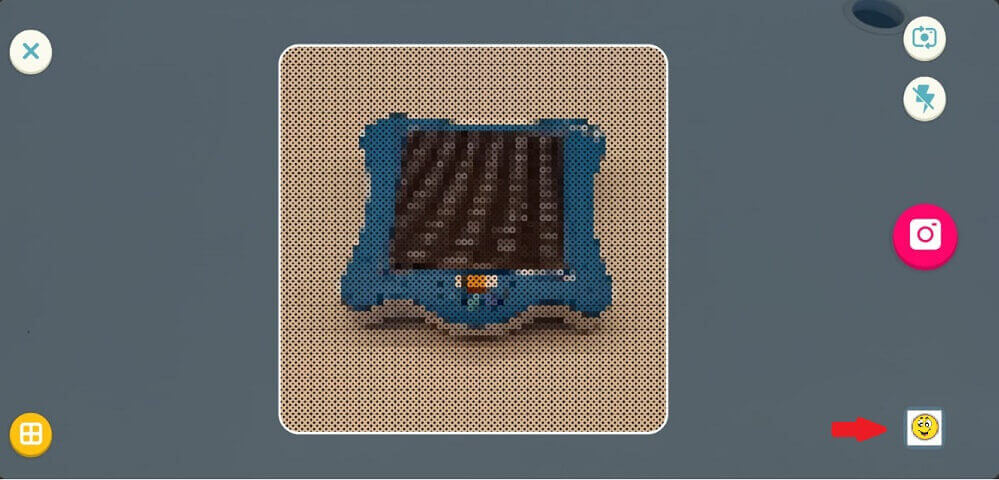
3. In the Camera preview screen, click the photo on the bottom right (It’s probably the last photo you took with your device). That will give you access to your photo library.
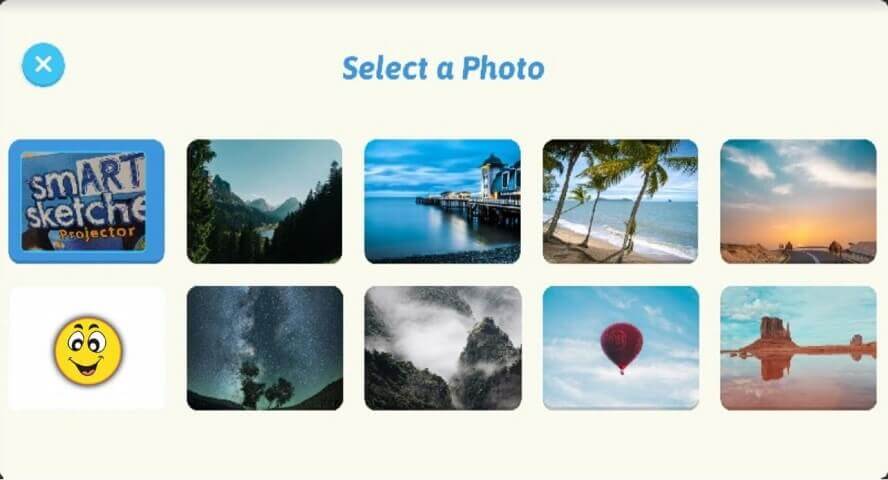
4. Choose a picture from your library.
5. Select the desired Artwork size, Adjust the photo into the frame (by zooming in/out using 2 fingers pinch), edit if you wish, and click the checkmark.
6. Start Building!
By default, a tutorial is shown for each play pattern type (Beads, 3D beads, Sequins, Pegs, Bracelets) only one time. In order to see tutorials at the beginning of every activity, you should enable the “Always show activity tutorials” toggle in the settings screen.

Pictures can be saved under “My Stuff” section, at the bottom of the main screen. “My Stuff” section is available per Profile, and pictures are saved only for the current profile. All pictures saved under “My Stuff” can be reopened, edited and transferred to the smART Pixelator™.
By default, the last transferred picture is saved (assuming you want to continue the same model next time you want to play).
In addition, each picture can be saved to “My Stuff” while in the edit screen, by clicking on the heart icon (icon is enabled with every change made in the picture). We recommend saving the picture after final editing, and adding it to the pool of pictures available for the App usage.
In case you get the following message, you may need to delete pictures saved on “My Stuff” (on the current profile):
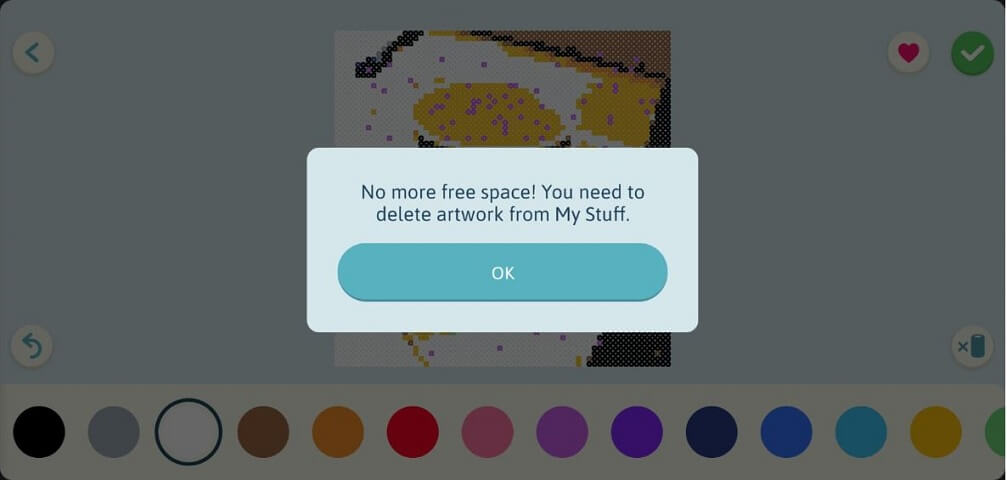
Deleting a picture is simple.
1. Go into the “My Stuff” section and click on the edit button.

2. Mark the pictures you want to delete and click the trash can icon.

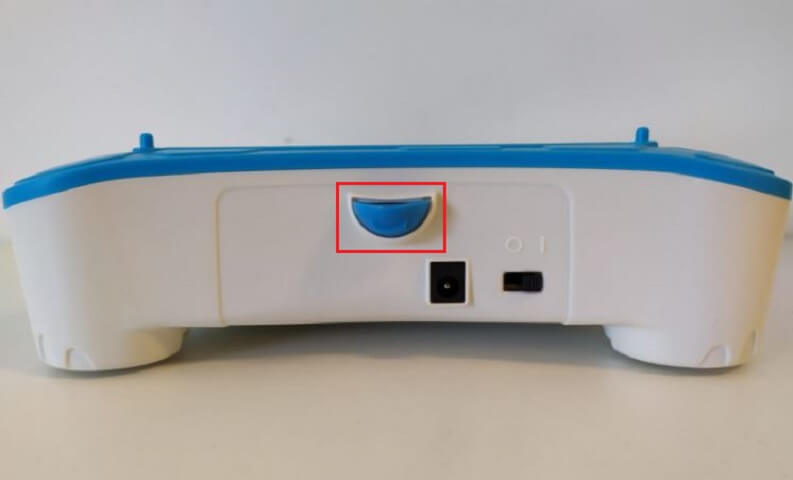
1. The SD might not be inserted correctly. Make sure the flat side of the card faces upward. Wiggle it gently to make sure it’s all the way in.
2. The SD card insertion might not been detected by the smART Pixelator™. You can try to trigger an SD card detection by pressing the two white arrow buttons on the Projector. You should first press the Right arrow button, keep it pressed and then press on the Left button for at least 2 seconds and then release both.
3. Each SD card only works with a single smART Pixelator™. Once it’s programmed into one smART Pixelator™, you can’t move it to another. If you have more than one smART Pixelator™, make sure you’re using the SD card in the correct device. If you see the below “Err” message, it means the SD card may already be programmed into another smART Pixelator™.
For any other issues, please contact us!
In order to locate and connect to the smART Pixelator™, the App requires enabled Bluetooth on your mobile device/tablet. If your device fails to connect to the smART Pixelator™, follow the troubleshooting steps below. Please note that the steps are different for iOS and Android.
Make sure that:
- Your smART Pixelator™ is turned on.
- Bluetooth is Enabled on your mobile device/tablet.
Note: There is no need to pair and/or connect your device to the smART Pixelator™ from your device Bluetooth settings menu; the App will automatically locate the smART Pixelator™. - No other device is currently connected to the smART Pixelator™ (only a single device can be connected at the same time).
Android troubleshooting
Enable Location Services
If the App fails to locate the smART Pixelator™, please make sure that Location services are Enabled on your mobile device. This is done from your mobile device settings menu and may change per vendor and Android version. The App will automatically detect if Location services are enabled or disabled. If Location services are disabled, the App will show a message prompting you to enable Location services.

Click the OK button and the App will redirect you to the Android Location services settings where you can enable it. Please note that on some mobile devices the App won’t be able to redirect you to the device Location services settings and you will need to manually enable Location services via Android settings.
Verify the smART Pixelator™ is not paired with your device via the Android Bluetooth settings menu
You should not pair/connect the smART Pixelator™ to your device via the Android Bluetooth settings menu. This will prevent the smART Pixelator™ App from finding the smART Pixelator. To verify the smART Pixelator™ is not paired in your Android Bluetooth settings menu:
1. Open your mobile device Bluetooth settings menu.
2. Verify the smART Pixelator™ doesn’t appear in the list of paired devices.
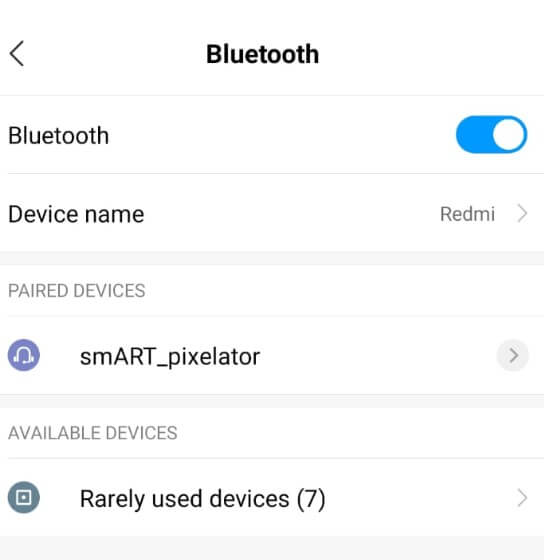
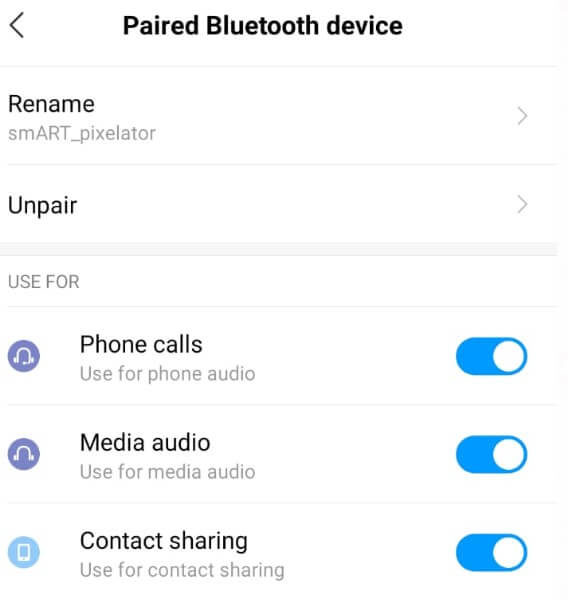
3. If the smART Pixelator™ (named: smART_pixelator) appears in the list of paired devices, make sure to unpair it.
First time usage of the App
To enable in-app Bluetooth connectivity, Android requires that:
- Location services will be enabled.
- The App will have access to Location services data.
This means that the user needs to make sure Location services are Enabled and to provide the App permissions to access Location data. This is a one-time step; once the permission was provided, the App will not ask for it again. This is required on devices running Android 6.0 and above, but may also be needed on Android 5.0 devices depending on your device vendor and model.
1. Open the smART Pixelator™ App on your device.
2. Click the I have a smART Pixelator button in the welcome screen.
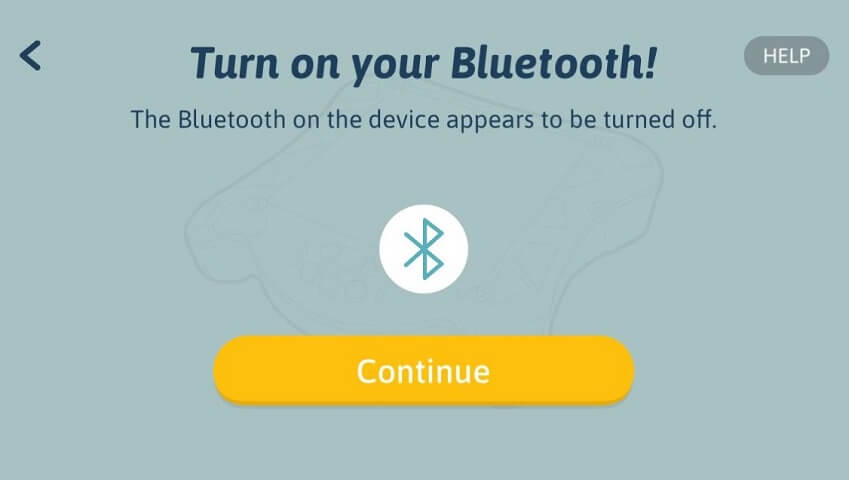
3. Click the Continue button in the Bluetooth screen
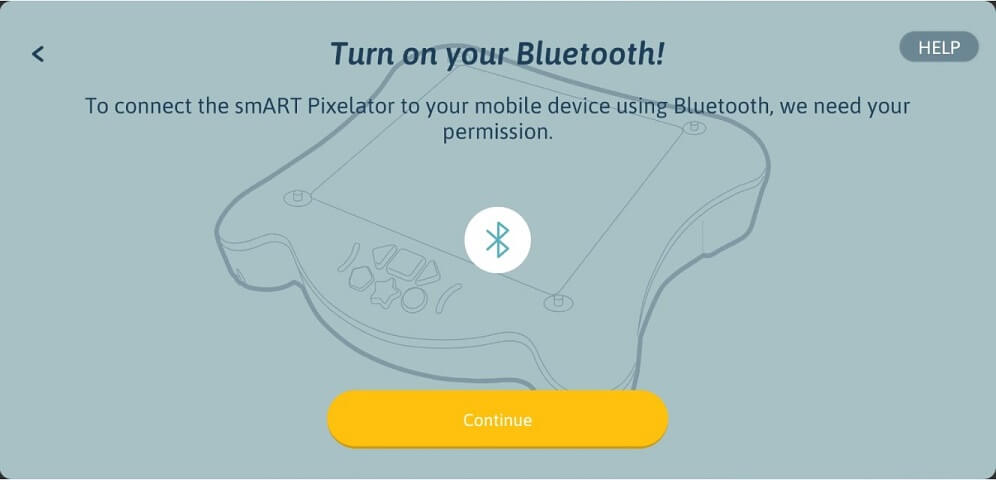
4. The App will automatically detect if Location services are Enabled or not. If Location services are disabled, the below message will be shown prompting the user to enable Location services.
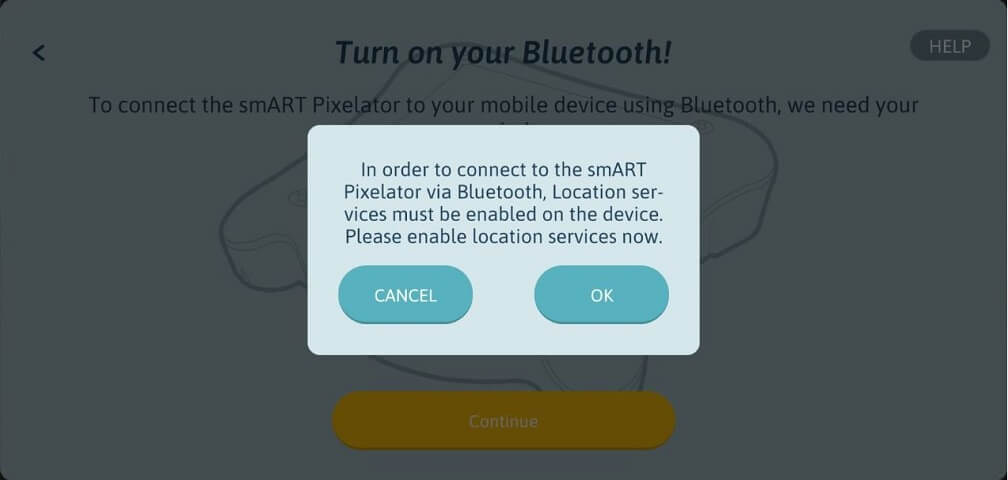
Click the OK button and the App will redirect you to the Android Location services settings where you can enable it.
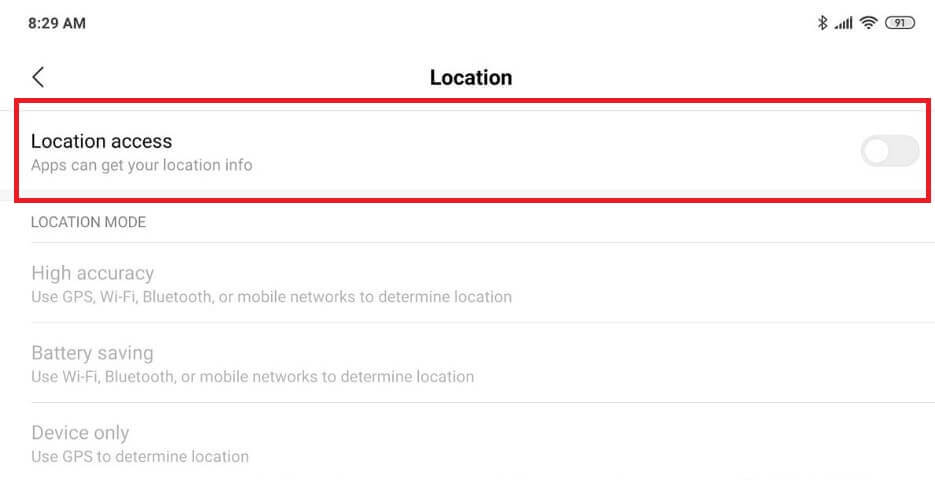
Please note that on some mobile devices the App won’t be able to automatically redirect you to the device Android Location services settings and you will need to manually enable Location services in Android settings.
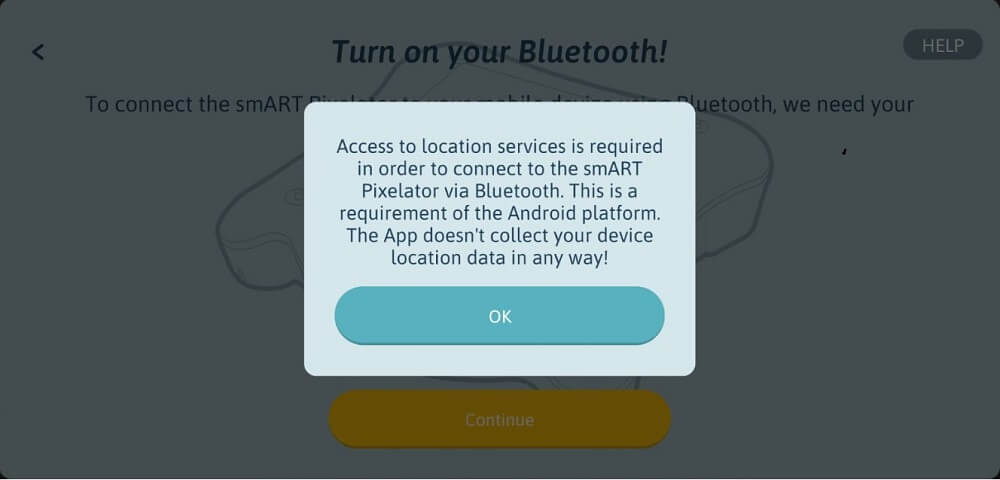
5. If access to Location services wasn’t previously granted for the App, the below explanation message regarding the need to approve the App access to Location services will appear. Click the OK button to proceed.
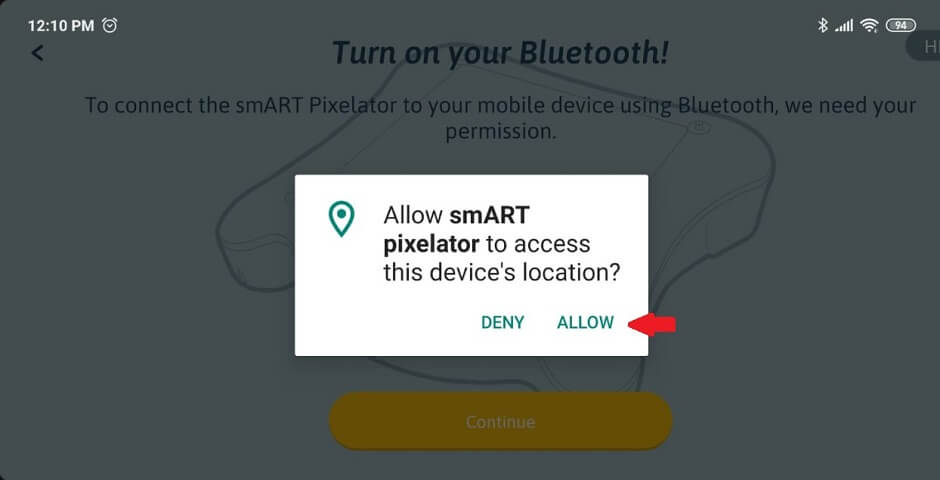
6. The Android system dialog to allow access to the device location will appear. click ALLOW to authorize access to the app. Note: the message is a system message provided by the Android platform and may be a little bit different depending on your device vendor and model.
7. Bluetooth scanning will start to detect your smART Pixelator™.

I’ve accidently clicked the DENY button when asked to allow access to the device location. What should I do?
1. Go to the Bluetooth screen and click the Continue button.
2. Click the OK button in the explanation message dialog.
3. When prompted by the Android system dialog to allow access to the device location, click ALLOW.
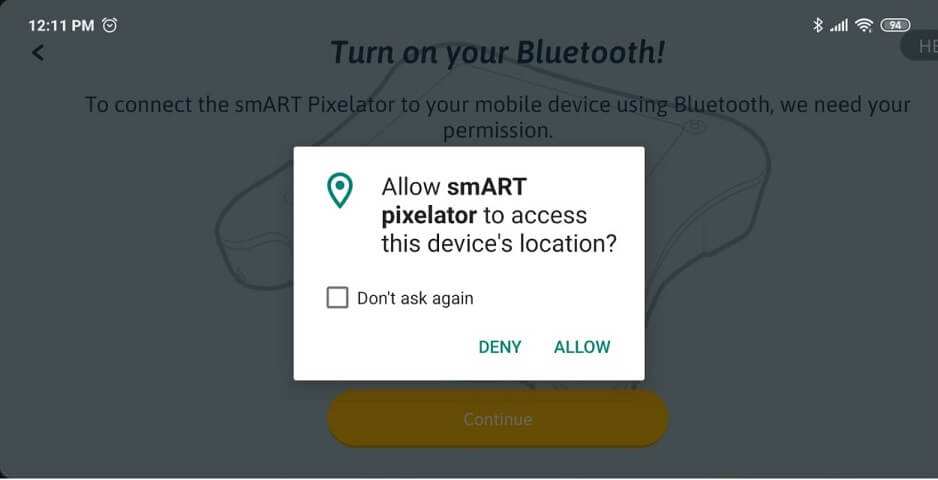
I’ve accidently clicked the DENY button (while selecting “Don’t ask again”) when asked to allow access to the device location. What should I do?
If you denied the App access to your device location and selected “Don’t ask again”, the Android system will not prompt you again to allow access. Instead, you will need to manually enable Location access permission for the smART Pixelator™ App. Note: The actual screens and steps may be a little bit different depending on your device vendor and model.
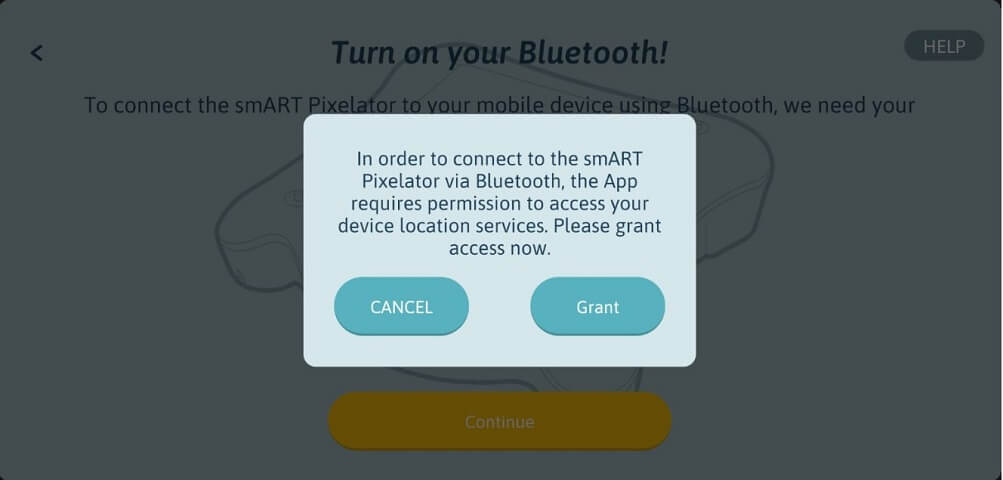
1. Go to the Bluetooth screen and click the Continue button.
2. The below dialog message will appear. Click the Grant button to open the Android settings properties for the smART Pixelator™ App.
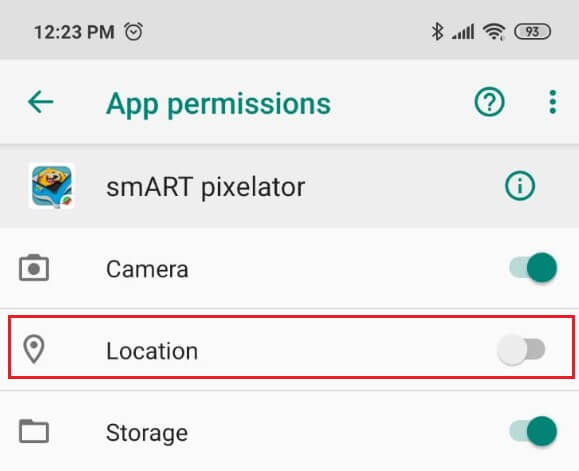
3. In the opened Android settings properties screen for the smART Pixelator™ App, locate the App Permission settings and click it (the actual screen might look a little bit different depending on your device vendor and model).
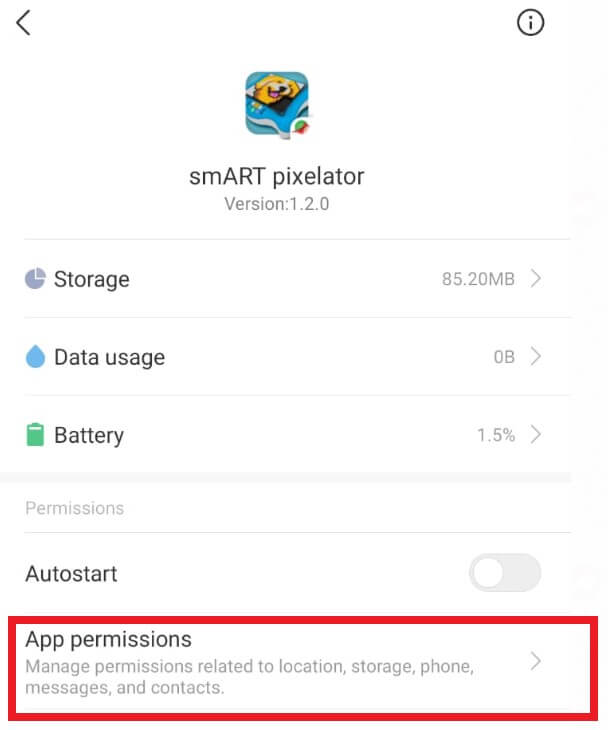
4. Click the Location toggle to allow the smART Pixelator™ App access to your device location. Afterwards, click the back button twice to return back to the App.
iOS troubleshooting
To enable in-app Bluetooth connectivity, iOS requires that:
- Bluetooth will be enabled.
- The App will have permission to use Bluetooth.
This means that the user needs to make sure Bluetooth is Enabled and to provide the App permissions to use it. This is a one-time step; once the permission was provided, the App will not ask for it again. Bluetooth access privileges are required on devices running iOS 13 and above.
Devices that were upgraded to iOS 13 and above need to update the smART Pixelator™ App to version 1.0.7 (or above) in order for the app to comply with the OS requirements. Running older versions of the smART Pixelator™ App will result in the App exit.
First time usage of the App
1. If your device Bluetooth is turned on, the smART Pixelator™ App will automatically start scanning for the smART Pixelator™.
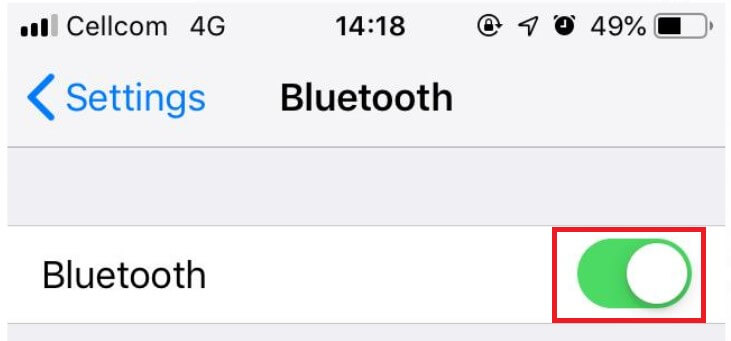
2. If your device Bluetooth is turned off in Settings, the following system dialog will be shown. Click the Settings button to go the iOS Settings screen.

In the Settings screen, turn on Bluetooth.
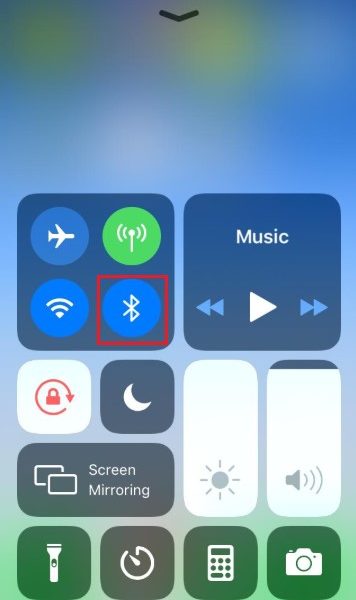
3. If you reach the Bluetooth screen in the App and clicking the Continue button does nothing, it might be that your device Bluetooth is turned on in Settings, but it is disabled in the Control Center.
Swipe up from the bottom of the screen to launch the Control Center. Make sure Bluetooth is enabled.
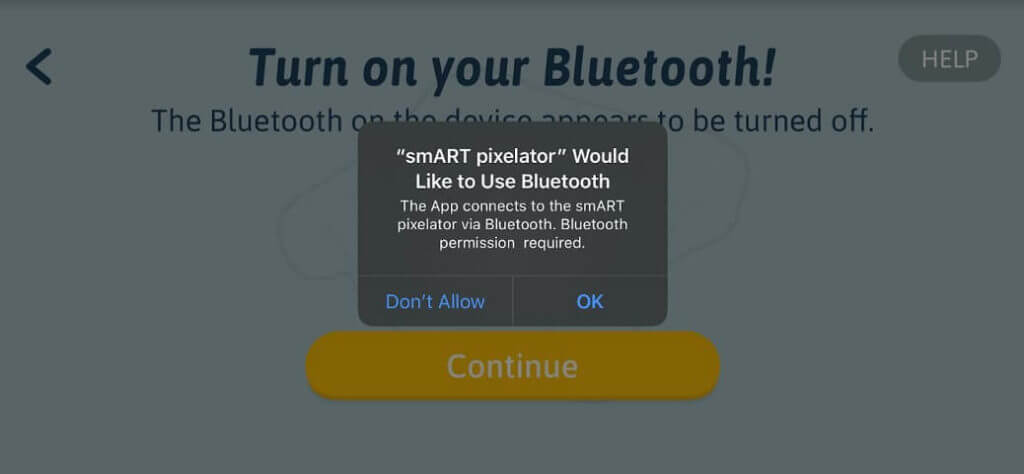
For devices running iOS 13 version and above
A system dialog message will appear asking to allow the app Bluetooth usage. click OK to authorize bluetooth usage by the app.
I’ve accidently clicked the “Don’t Allow” button when asked to allow bluetooth usage to the app. What should i do?
If you denied the App Bluetoooth usage, the iOS system will not prompt you again to allow usage. Instead, you will need to manually enable Bluetooth permission for the smART Pixelator™ app.
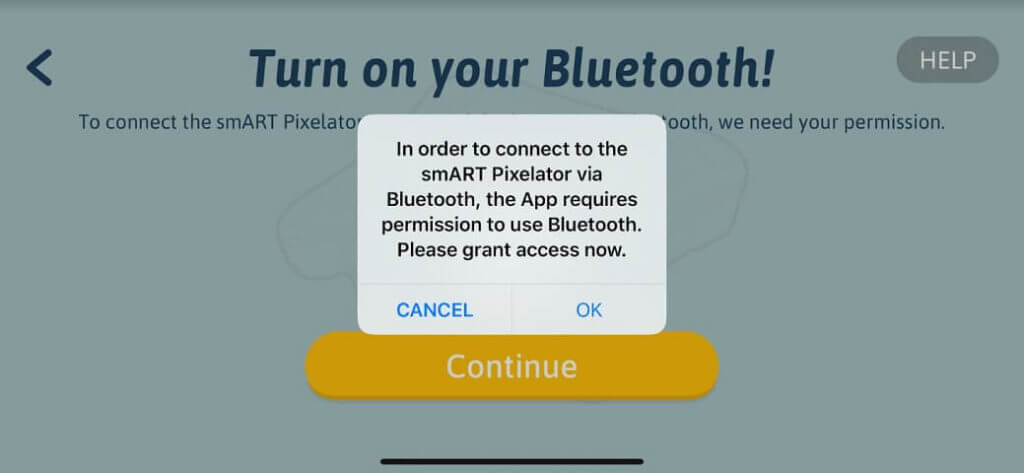
1. Go to the Bluetooth screen and click the Continue button.
2. The below dialog message will appear. Click the OK button to open the settings properties for the smART Pixelator™ App.
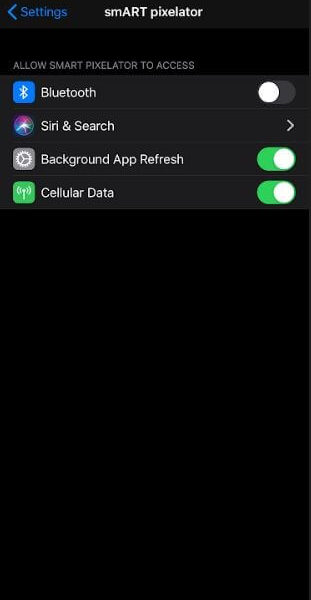
3. In the opened settings screen for the smART Pixelator™ App click the Bluetooth toggle to allow the smART Pixelator™ App bluetooth usage. Afterwards, click the back button to return back to the app.
The Flycatcher account creation is a one time setup. Flycatcher is the corporate name for the smART Pixelator™. Once an account is created, the App will remember the account details. Your Flycatcher account can then be used for all future products from the company. If you already have a Flycatcher account, follow the steps in this Link.
1. Download the smART Pixelator™ App to your mobile device. It’s available on Apple Store, Google Play and Amazon App Store.
2. Open the App and click the “I have a smART Pixelator” button in the welcome screen.
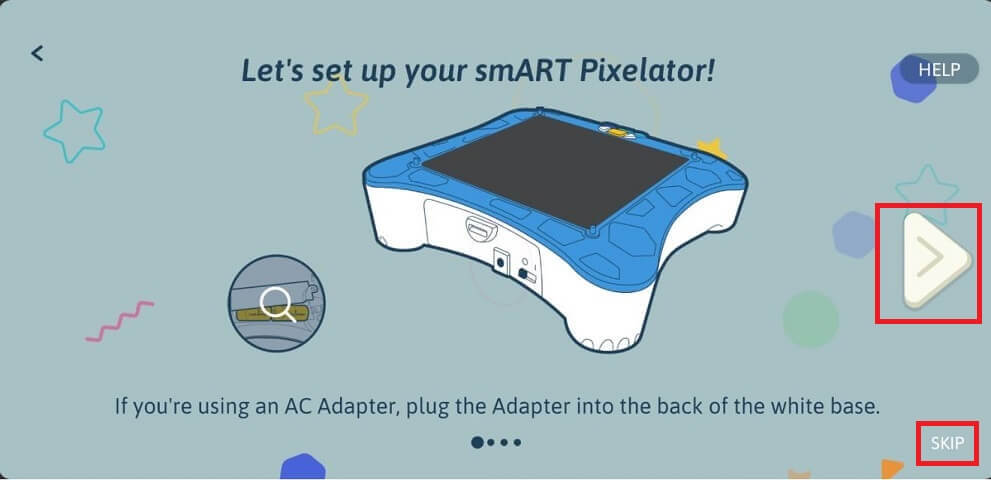
3. Follow the assembly steps to prepare your smART Pixelator for first time use, or click the SKIP button to skip the assembly instructions if not required.
4. The App will search for a smART Pixelator™. Make sure your smART Pixelator is nearby and turned ON.

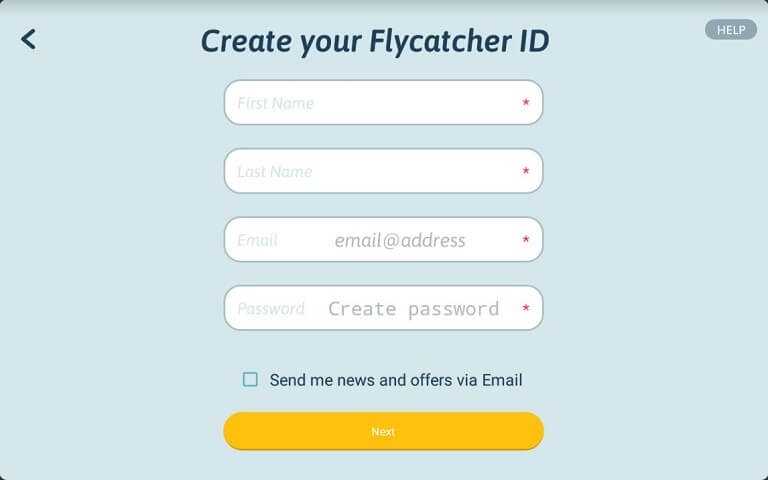
5. In the Account Creation screen, enter your first and last name, your email address and select a password (minimum length of 5 characters) . Click “Next” to continue.
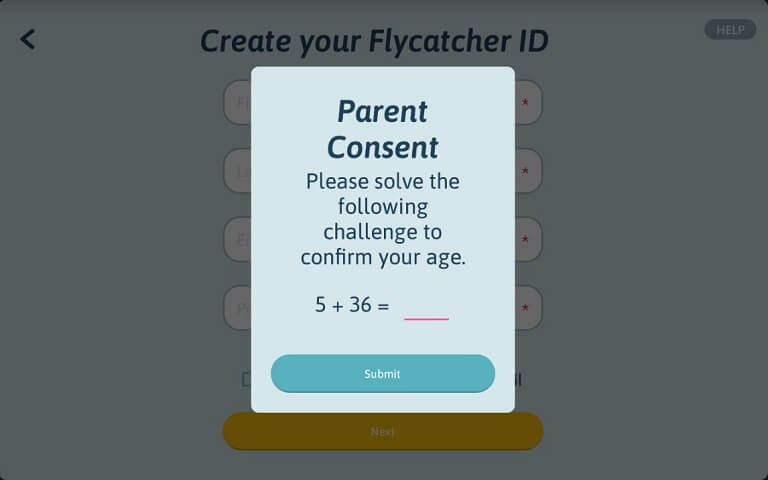
6. In the Parent consent dialog, answer the mathematical challenge to verify your agreement for the account creation.
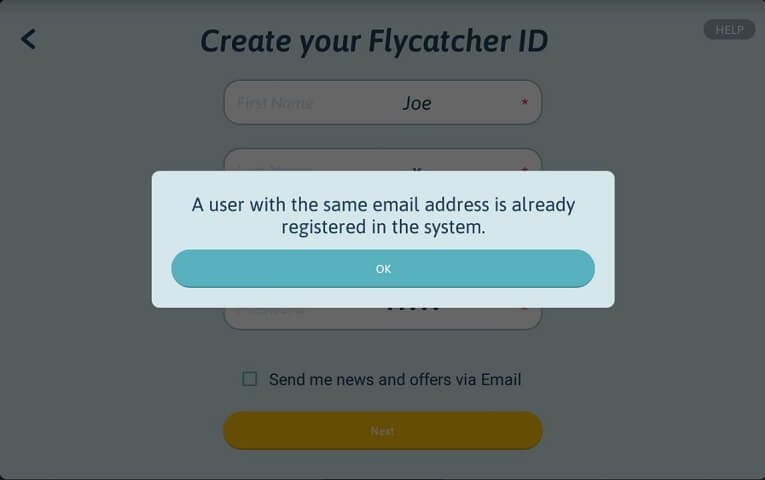
7. The App will verify that there is no Flycatcher account already associated with the provided email on our servers. If no account with the same email is found, you will be prompted to fill in the profile details (see step #8). If an account with the same email was found, you will see the below message.
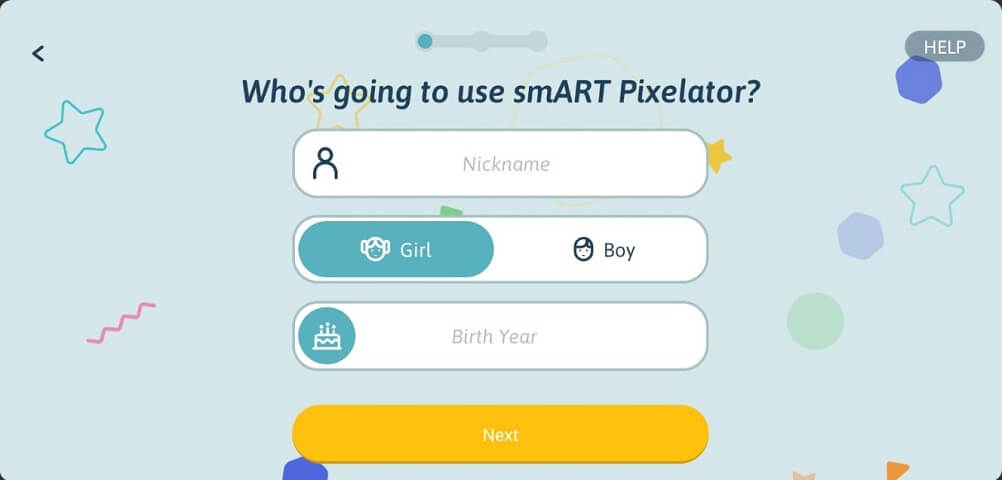
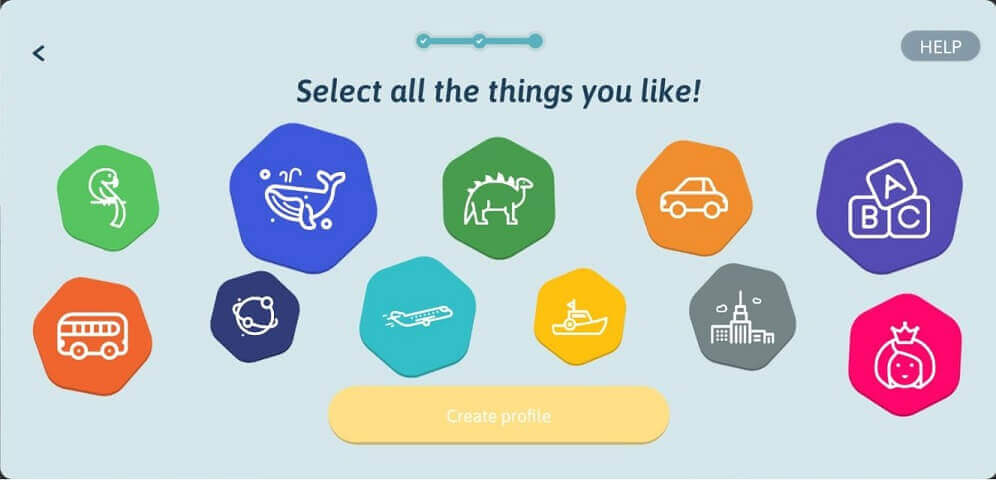
8. In the next three screens, fill in the details for the person who is going to use the App – these include a nickname, gender and birth year. Select an Avatar and interests from the list. Click the Create Profile button.

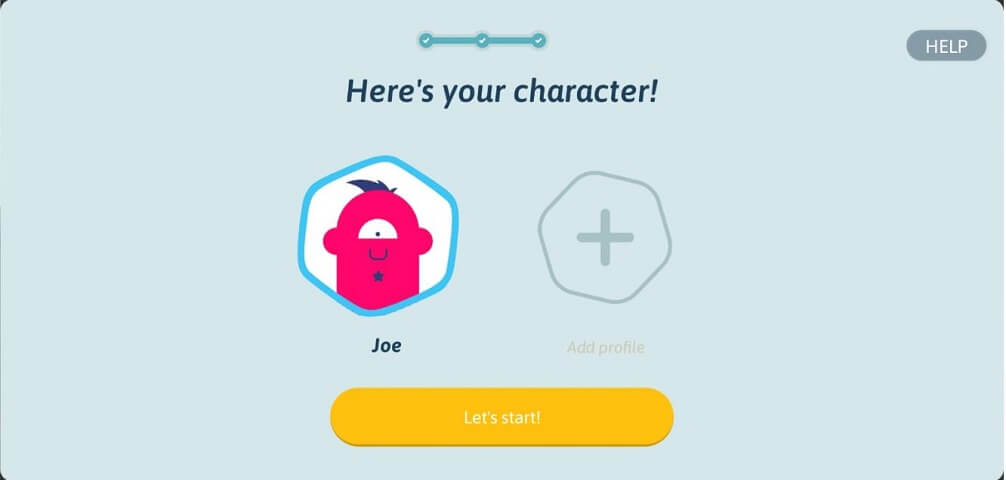
9. That’s it! Your account is ready. Click the Let’s start! button to continue to the App main screen.
Next time when you open the App, click the “I have a smART Pixelator” button – the App will automatically sign-in using your created account.
If you already have a Flycatcher account, you can sign in to the App with it.
If you previously created a Flycatcher account in the App or you already have a Flycatcher account from using one of our other products (smART sketcher® Projector, for example), you can use this account.
1. Open the smART Pixelator™ App.
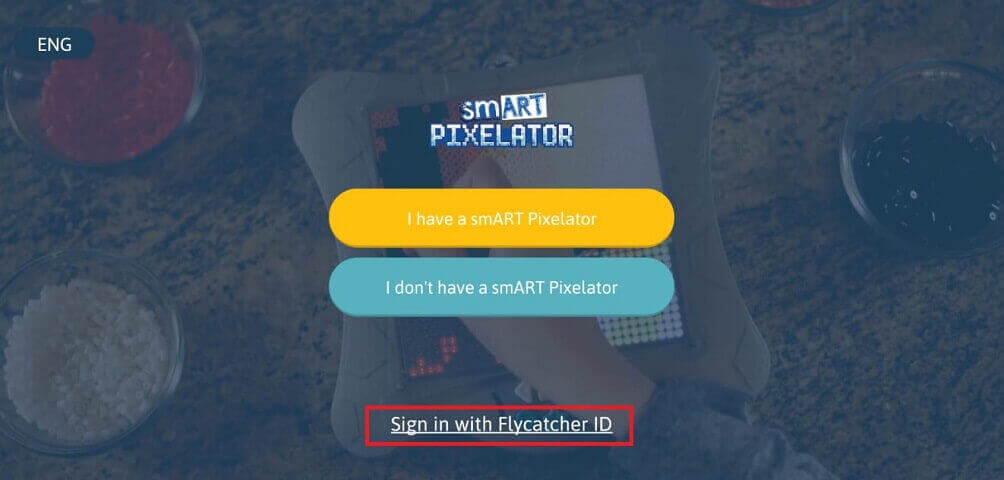
2. Click the “Sign in with Flycatcher ID” link in the bottom of the welcome screen.

3. The App will search for a smART Pixelator™. Make sure your smART Pixelator™ is nearby and turned ON.
4. In the “Sign In to your account” screen, fill in your Flycatcher account email address and password.
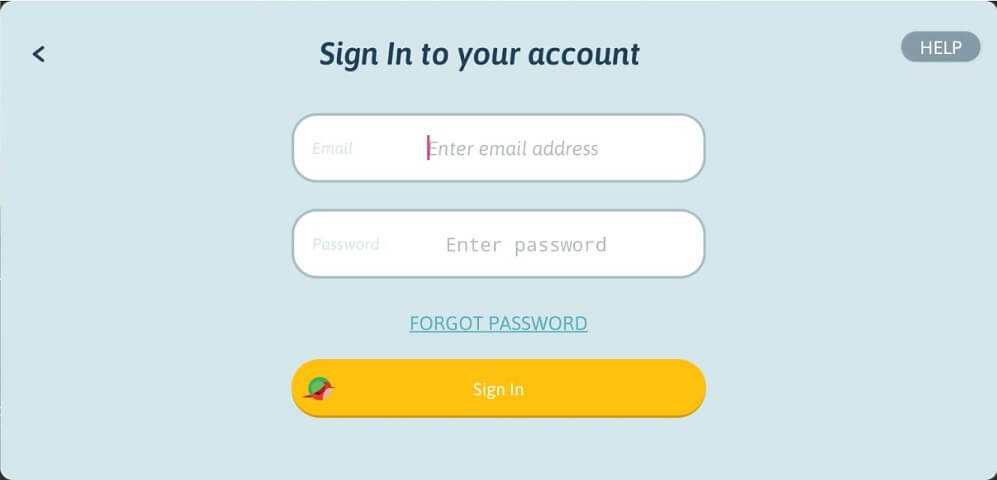
Click the “Sign In” button.
5. Tada! You are now signed in to the App with your Flycatcher account ID.
If you forgot your account password, you can initiate a password recovery from within the App. The password recovery process includes 3 steps:
- Initiate the password recovery process by entering the Email address you used for registration.
- You will receive an Email with a recovery code that you’ll need to enter in the App. Notice: the recovery code is valid for 30 minutes, after that it will expire.
- Once the recovery code is verified successfully by the App you will be prompted to enter a new password for your account.
Remember that your Flycatcher account is used with all the Flycatcher products that you have; so if you changed your password from the smART Pixelator™ App, this will also affect your account password in the smART sketcher Projector® App.
To initiate a password recovery:
1. Open the smART Pixelator™ App.
2. Click the Sign in with Flycatcher ID or Sign in with a different Flycatcher ID link in the bottom of the welcome screen.

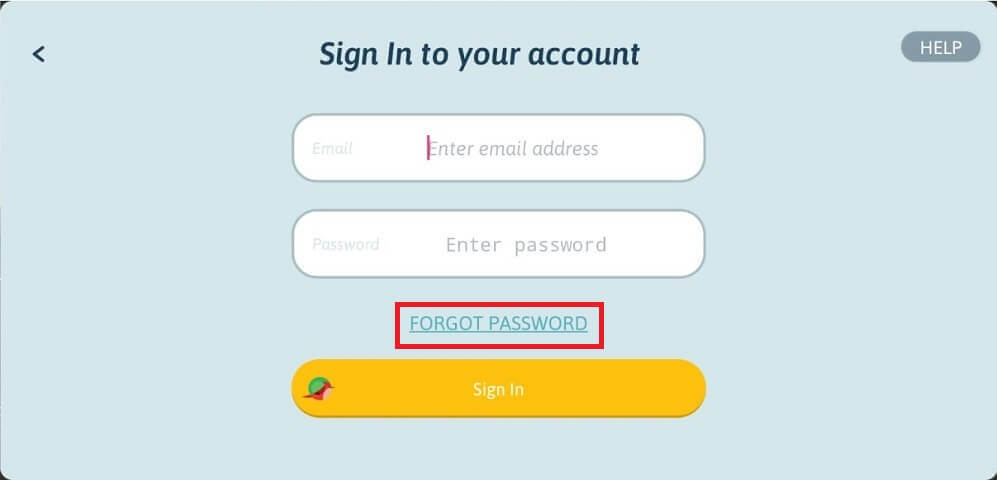
3. In the Sign in to your account screen, click the FORGOT PASSWORD link.
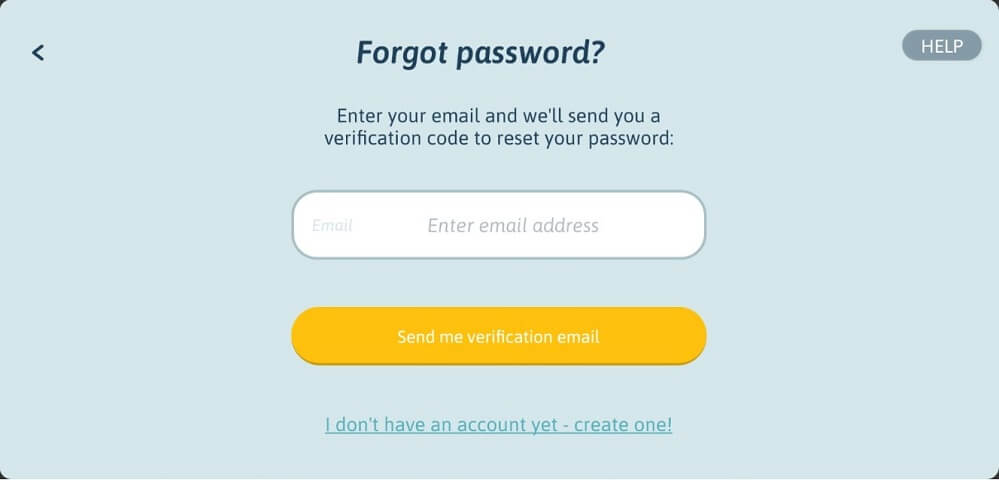
4. Enter the Email address that was used for your account registration. Click the Send me verification email button and we will send you an Email with a verification code.
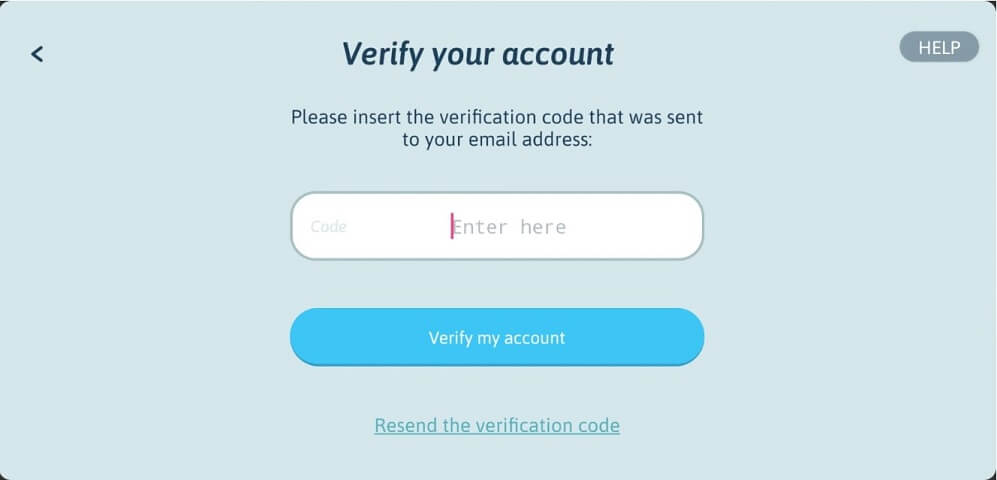
5. Enter the verification code you received by Email in the Code field and click the Verify my account button. If a valid verification code was entered you will be promoted to select a new password. In case you didn’t receive an Email with the verification code, click on the Resend the verification code link and we will resend the code again.
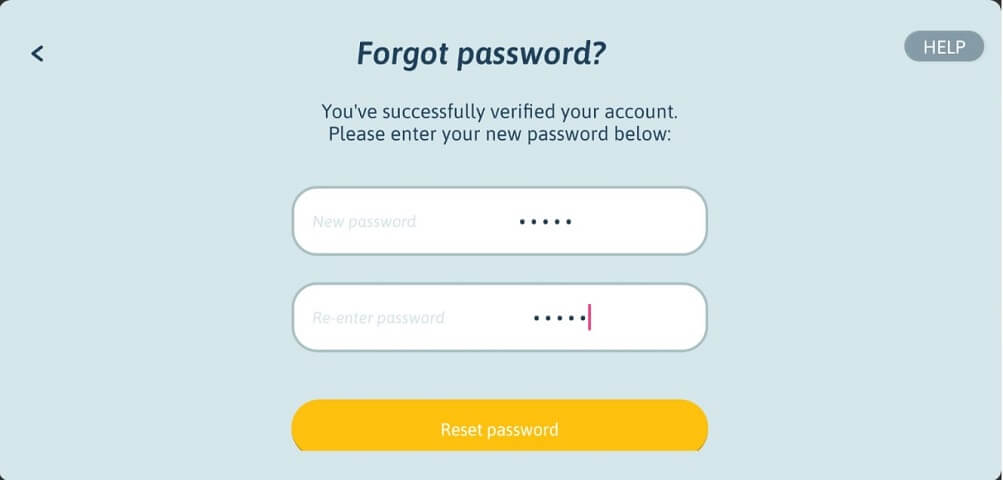
6. Enter your new password in the Password fields. Click the Reset Password button to complete the password recovery process.
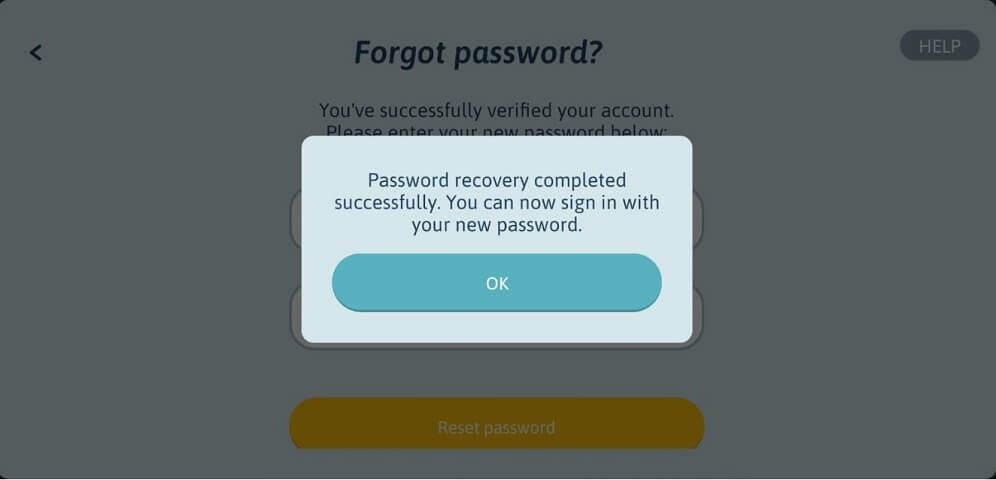
7.Once the password recovery process is completed successfully, click on the OK button to redirect you to the Login page. Enter your account Email address and your new password to login into your account.
You can change your account password from within the App. As a safety measure you are requested to enter your current password before you can create a new password.
Please note that you are changing your Flycatcher account password. If you have other Flycatcher Apps; the account password change will also apply to these Apps as well.
1. Open the App and click the “I have a smART Pixelator” button in the welcome screen.
2. The App will search for a smART Pixelator™. Make sure your smART Pixelator™ is nearby and turned ON.
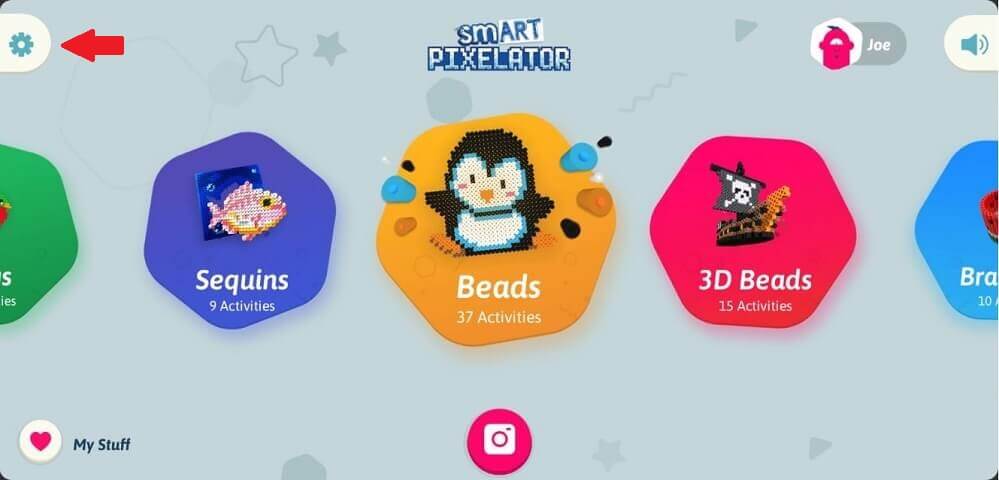
3. In the Main screen, locate the Settings Cogwheel icon at the top left corner of the screen. Drag the icon to the right to access the Settings screen.
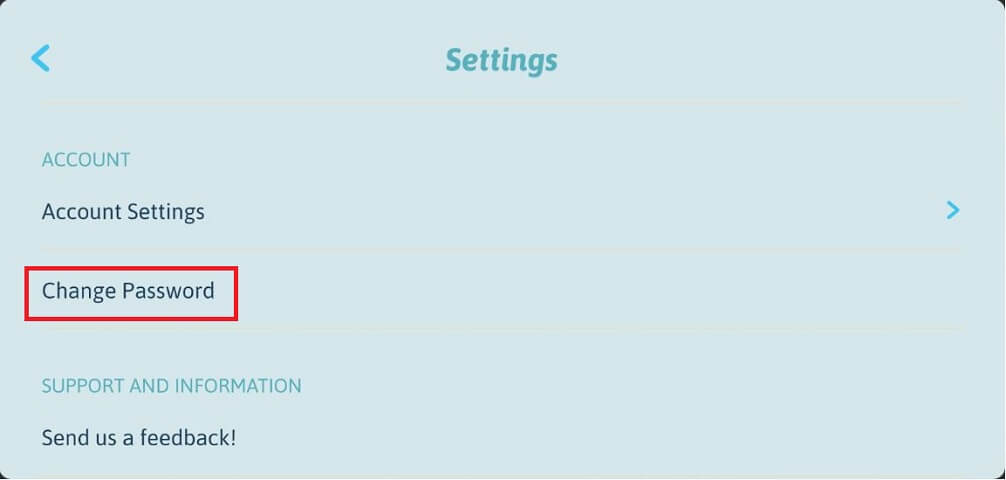
4. Scroll down to the Account section and click on Change Password.
5. In the Change Your Password dialog, please enter your current password and the new password you want to create (you will be requested to enter the new password twice to prevent any typo mistakes). Click the Save button to complete the change.
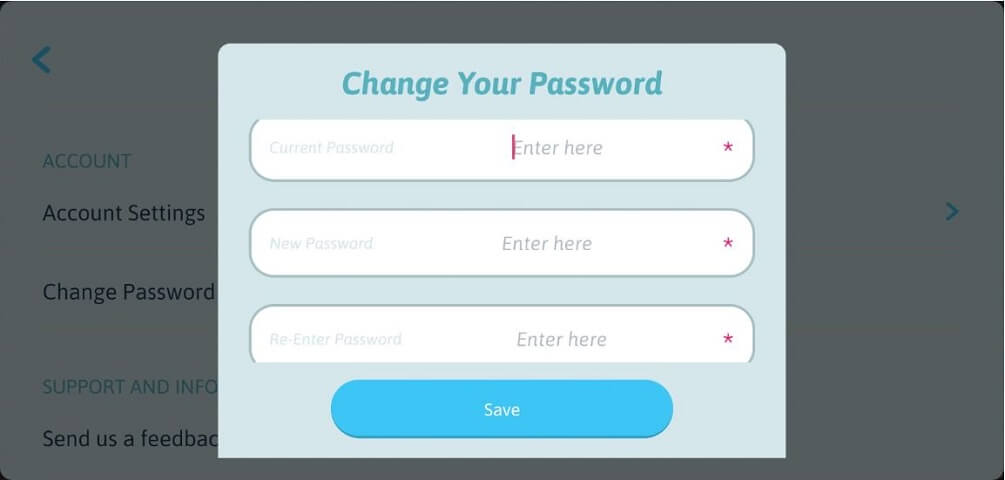
6. Your new password is now updated in our system.
Sure. If you already have a Flycatcher account, you can sign in to the App with it from multiple devices.
1. Open the smART Pixelator™ App.
2. Click the “Sign in with Flycatcher ID” link in the bottom of the welcome screen.
3. The App will search for a smART Pixelator™. Make sure your smART Pixelator™ is nearby and turned ON.
4. In the “Sign In to your account” screen, fill in your Flycatcher account email address and password.

Click the “Sign In” button.
5. Tada! You are now signed to the App with your Flycatcher account ID.
You can delete your account from within the App. Please note that the App uses your Flycatcher account that is also synced to any other Flycatcher products you may have. Once you delete your Flycatcher account, your smART Pixelator™ App and any other Flycatcher product Apps (like the smART sketcher Projector®) will stop working.
To delete your Flycatcher account:
1. Open the App and click the “I have a smART Pixelator” button in the welcome screen.
2. The App will search for a smART Pixelator™. Make sure your smART Pixelator™ is nearby and turned ON.
3. In the Main screen, locate the Settings Cogwheel icon at the top left corner of the screen. Drag the icon to the right to access the Settings screen.

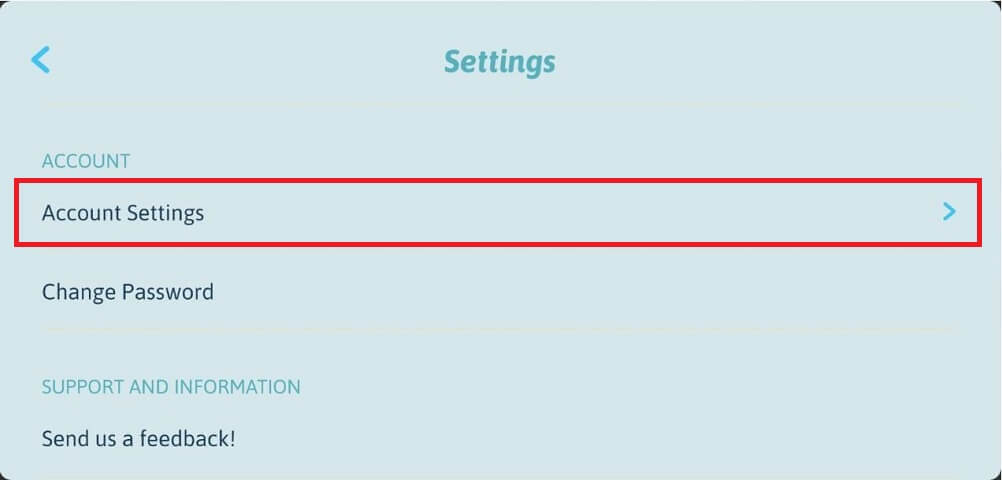
4. Scroll down to the Account section and click on Account Settings.
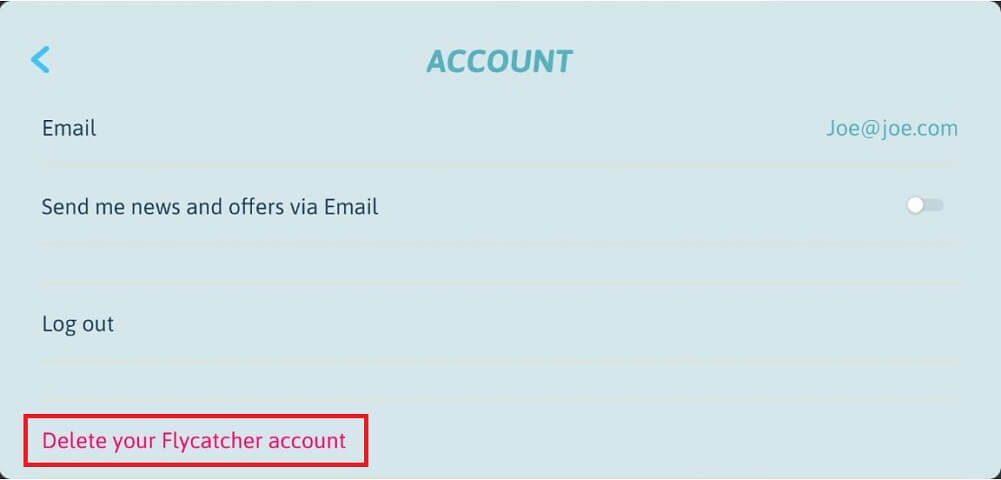
5. In the Account Settings sub-menu click on Delete Your Flycatcher account.
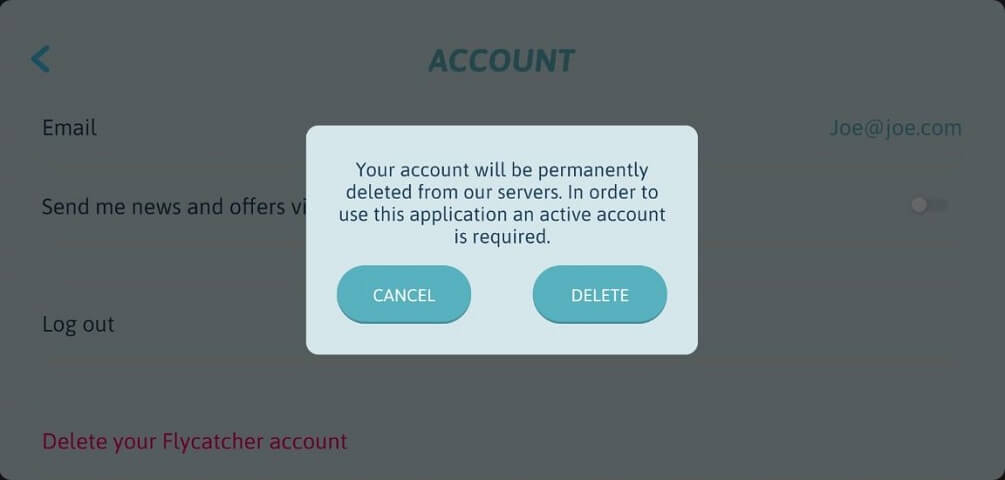
6. The below warning message will be shown to verify the delete account action. Click the Delete button to confirm your account deletion.
7. You will be prompted to enter your account password. Enter your password and click Next. Your account will be deleted and you will be logged out from the App.

Yes. The smART Pixelator™ App has multi-language support. We currently support 3 languages and we will be adding more languages soon.
To select a different language:
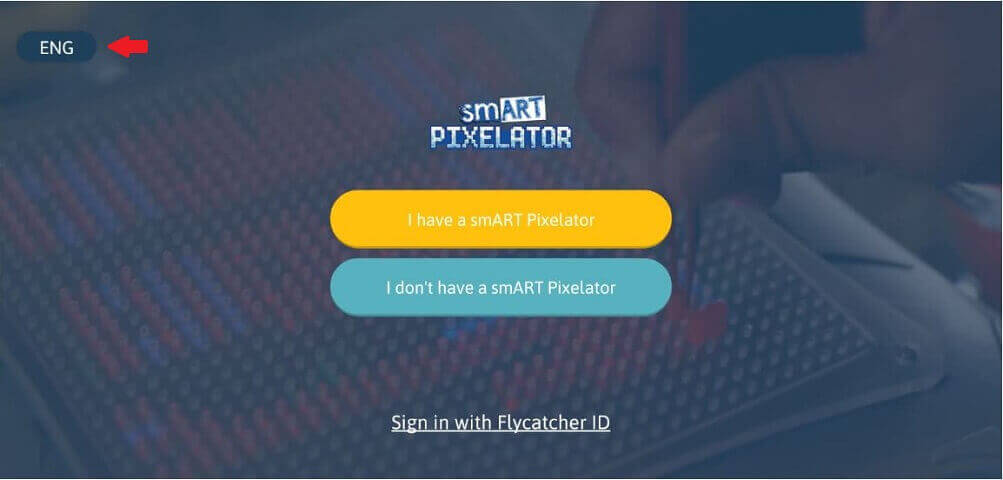
1. Open the smART Pixelator™ App.
2. Click the language selection button at the top left corner of the Welcome screen – initially it will show: ENG.
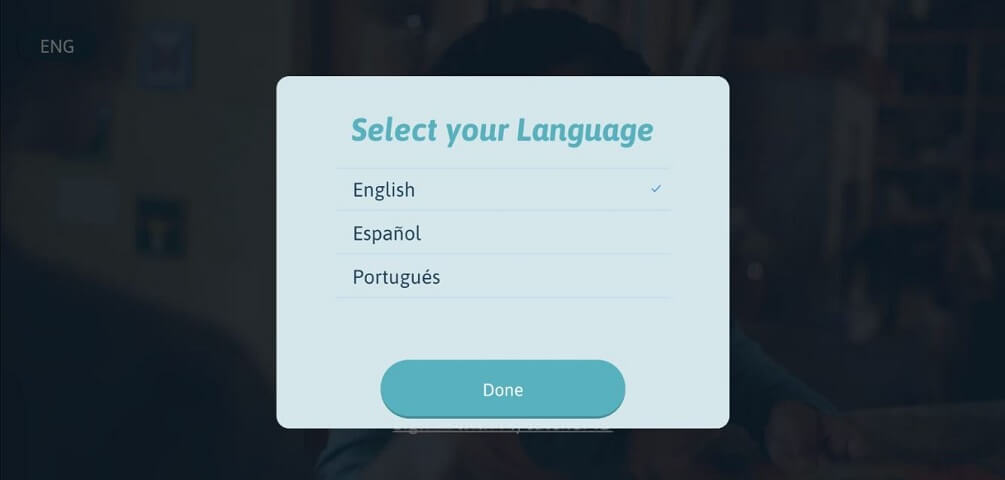
3. Select your desired language from the list and click the “Done” button.
4. The App language will change to the selected language.
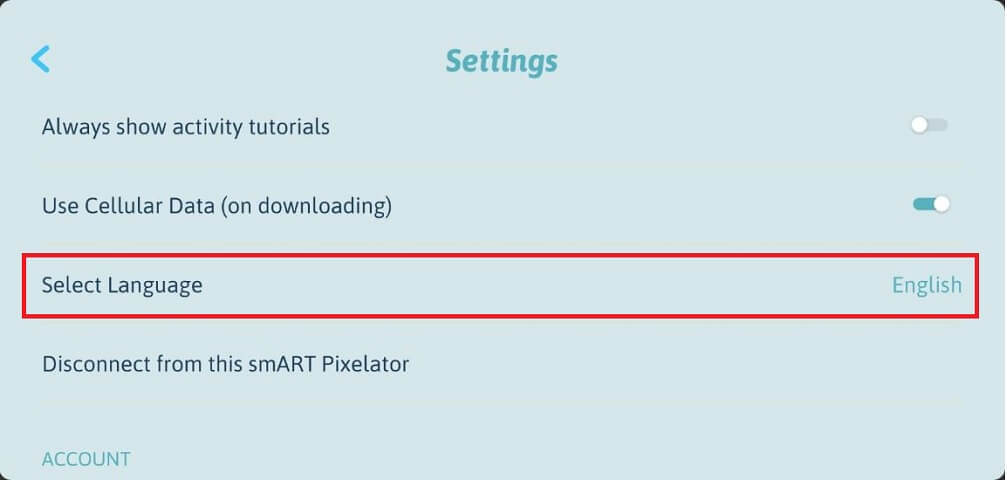
You can also change the language from the Settings screen:
1. In the Settings screen, scroll down to the Select Language option and click on the current selected language.
2. Select your desired language from the list and click the “Done” button.
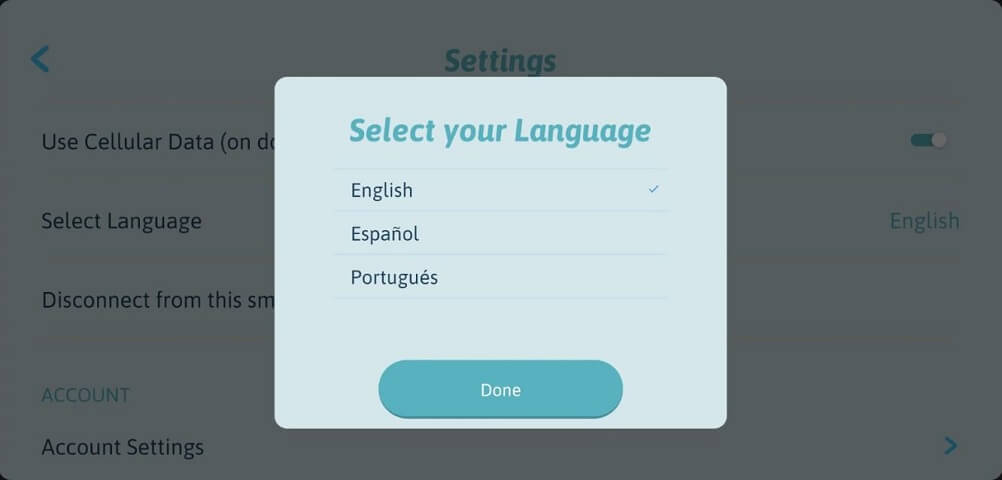
3. The App language will change to the selected language.